Documentation for Unreal Engine plugin
Overview
Extended Shading Pro is a powerful and lightweight Unreal Engine plugin that gives developers fine-grained control over shading layer manipulation in forward shading render paths. Designed with performance and flexibility in mind, this plugin enables artists and engineers to create custom shading effects without relying on costly post-processing pipelines or modifying engine source code.
Quick Start Guide
Installation
- In your project settings:
- Enable
Forward Shading. - Enable
Allow Static Lighting.
- Enable
- Download the
Extended Shading Proplugin from the FAB Marketplace. - Extract the downloaded content to your project’s
Pluginsfolder. - Launch your project and enable the plugin via
Edit → Plugins → Extended Shading Pro. - Restart Editor to apply changes.
Note: Expect large shader compilation process after following steps above.
Creating Your First Extended Shading Material
Single Layer
To create basic setup with single node do the following:
- Create a new Material in your project and open it.
- Create
Constant3Vectornode and set some color to it. - Right-click in the Material Editor and search for
Extended Shadingnode, then select it to add. - Connect
Constant3VectorOutput PintoExtended Shading node's Exec Pin. - Connect
Extended Shading node's Output Pinto your Material’sBase Color Pin. - Hit
Applybutton in Material Editor menu.
You should get the following node sequence as depicted in the image below.
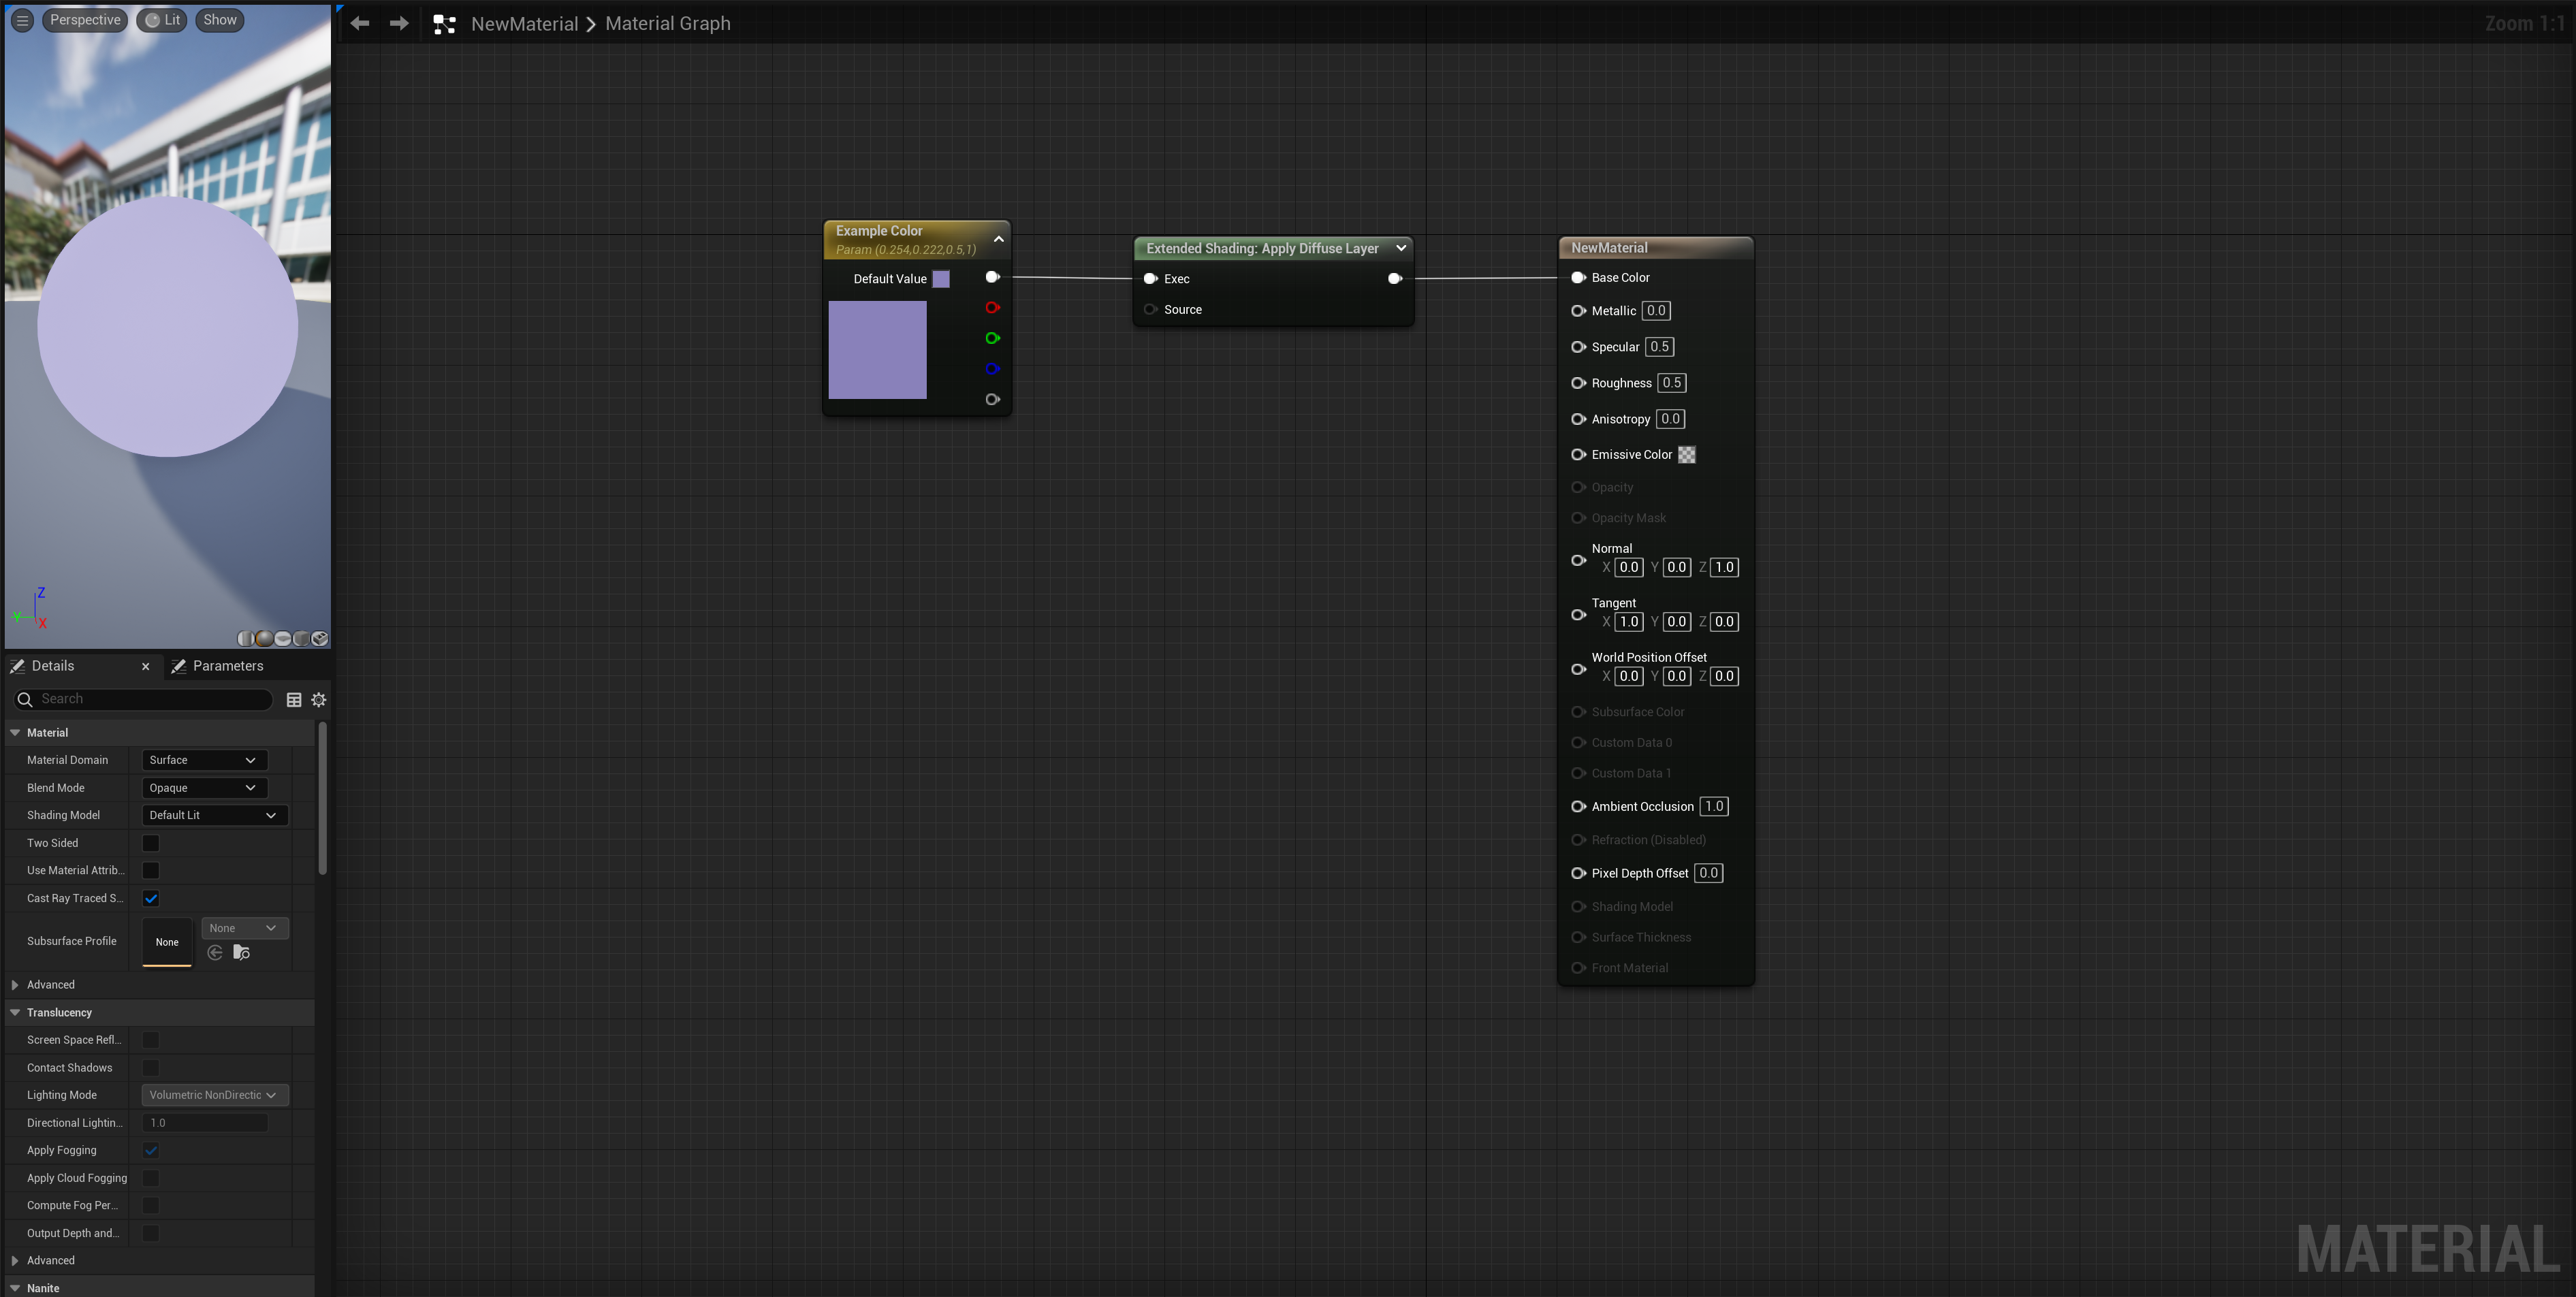
Completing these steps will result in material that only processes Diffuse Layer, excluding influence from Directional Light, Reflection, Skylight, etc. Try setting the Material to some mesh on the level and see the result!
Note: Build lighting on your level after setting the material.
Note: Apply changes in Material Editor after every modification.
Multiple Layers
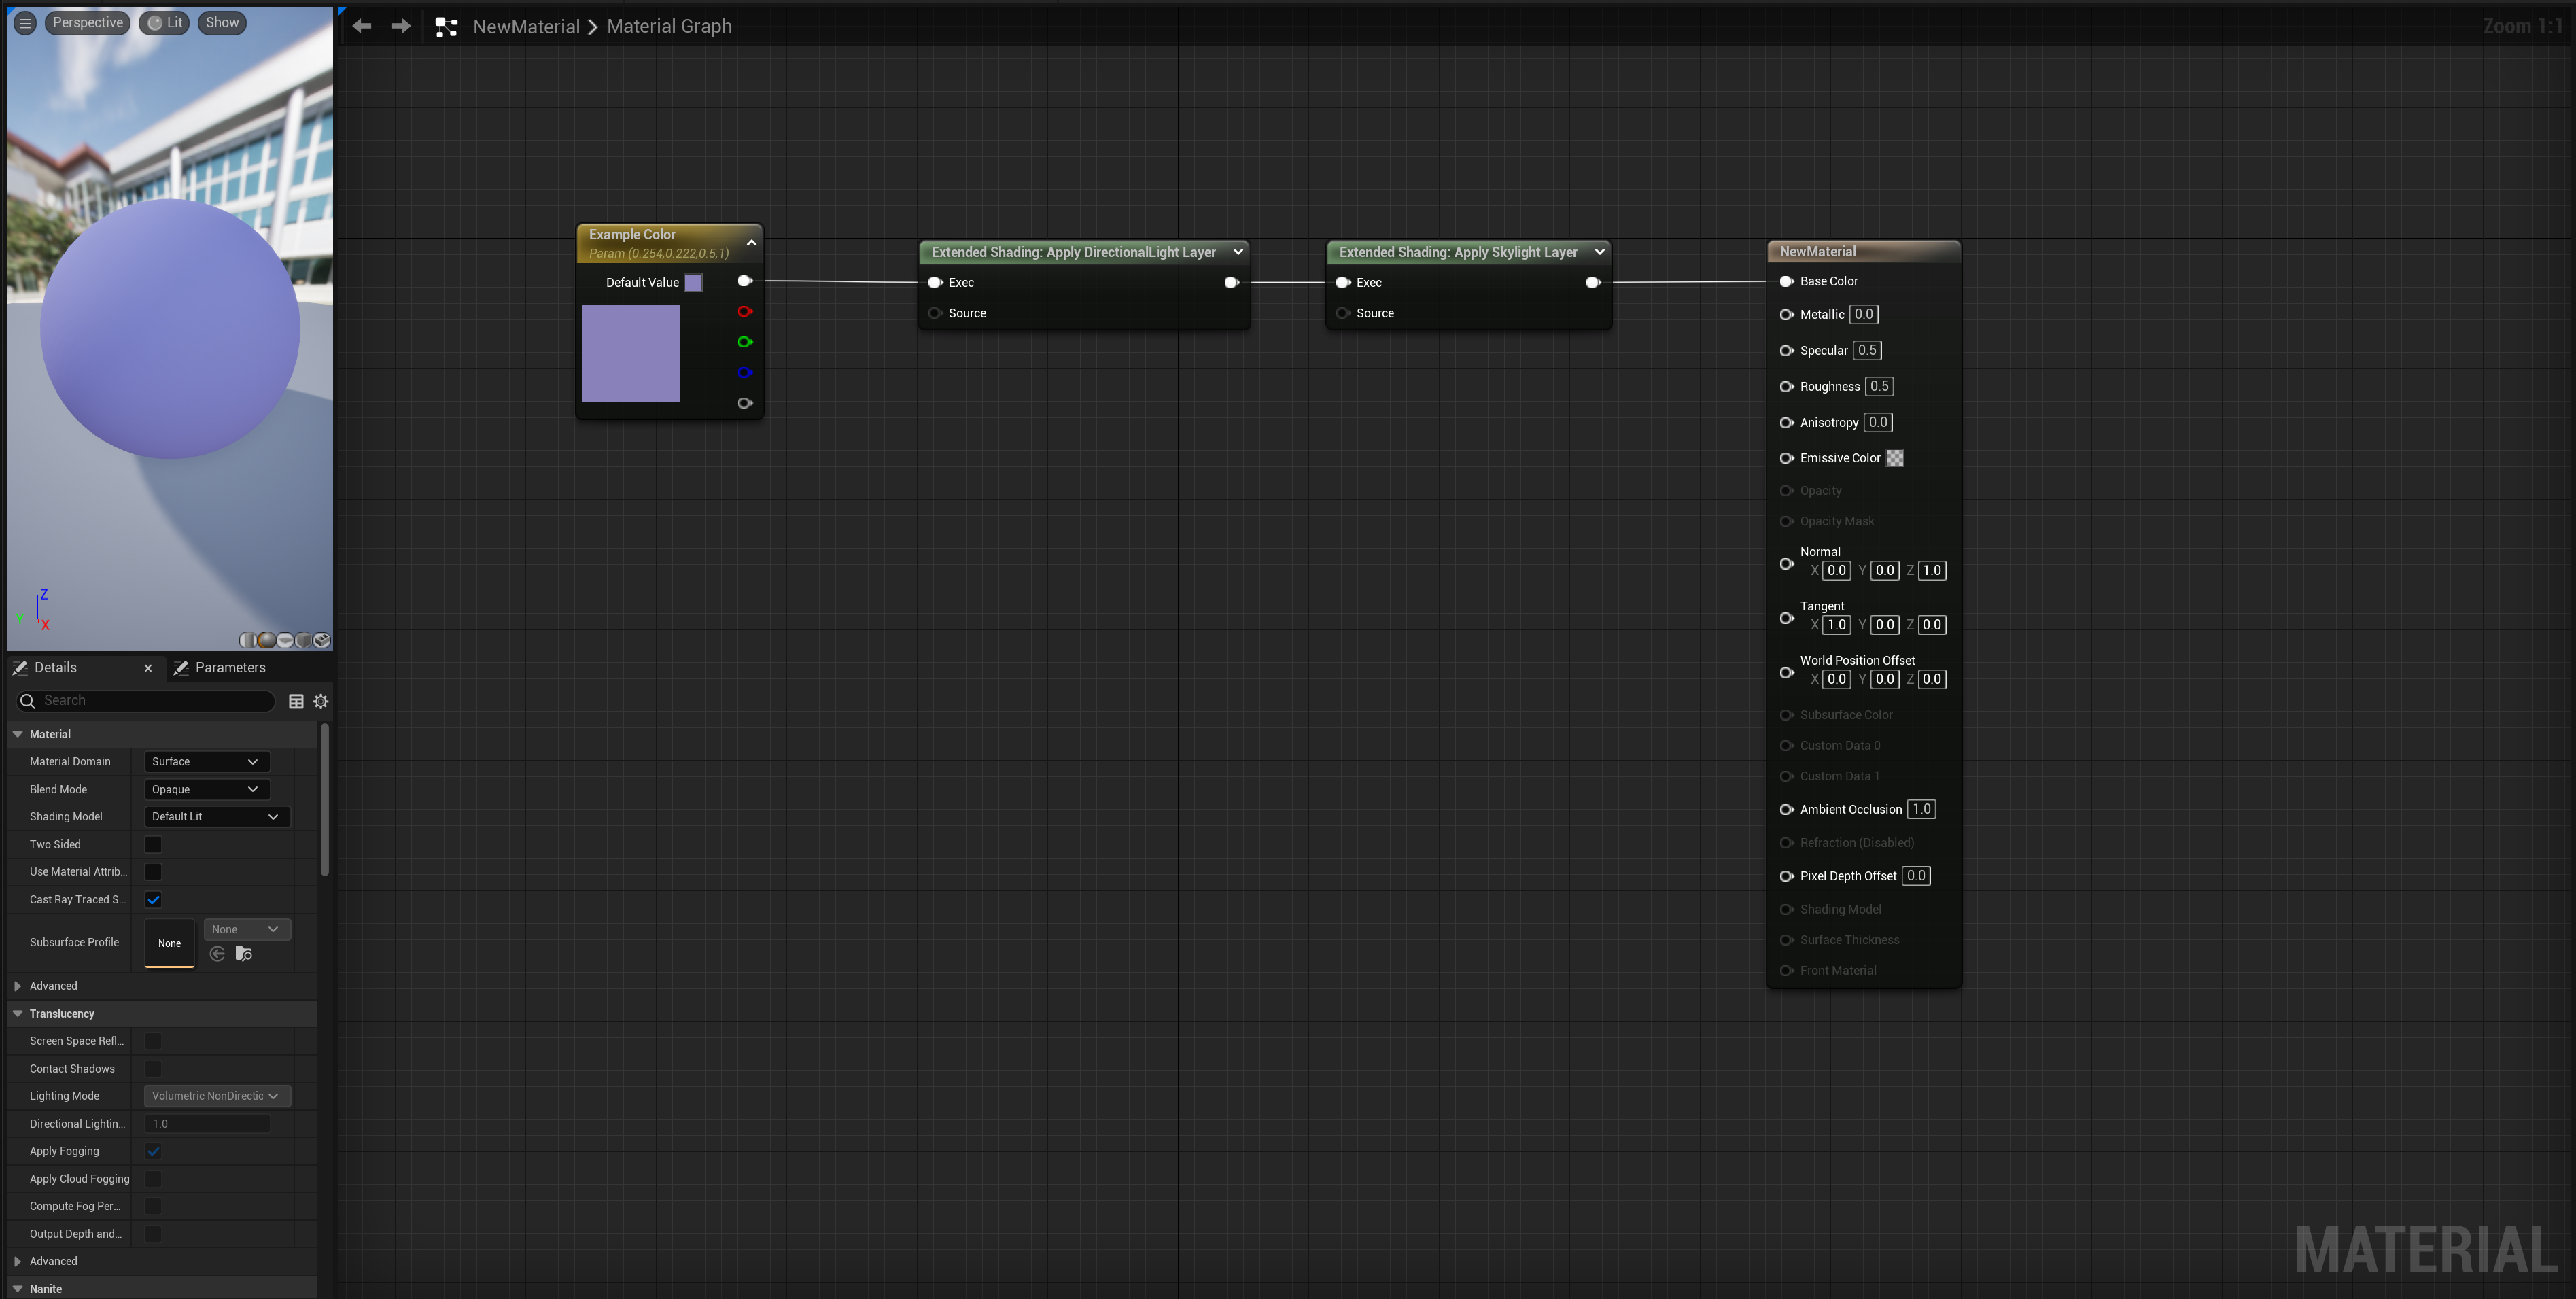
You can chain Extended Shading nodes to include different layers. To process only Directional Light and Skylight do the following in the previous Material:
- Create two
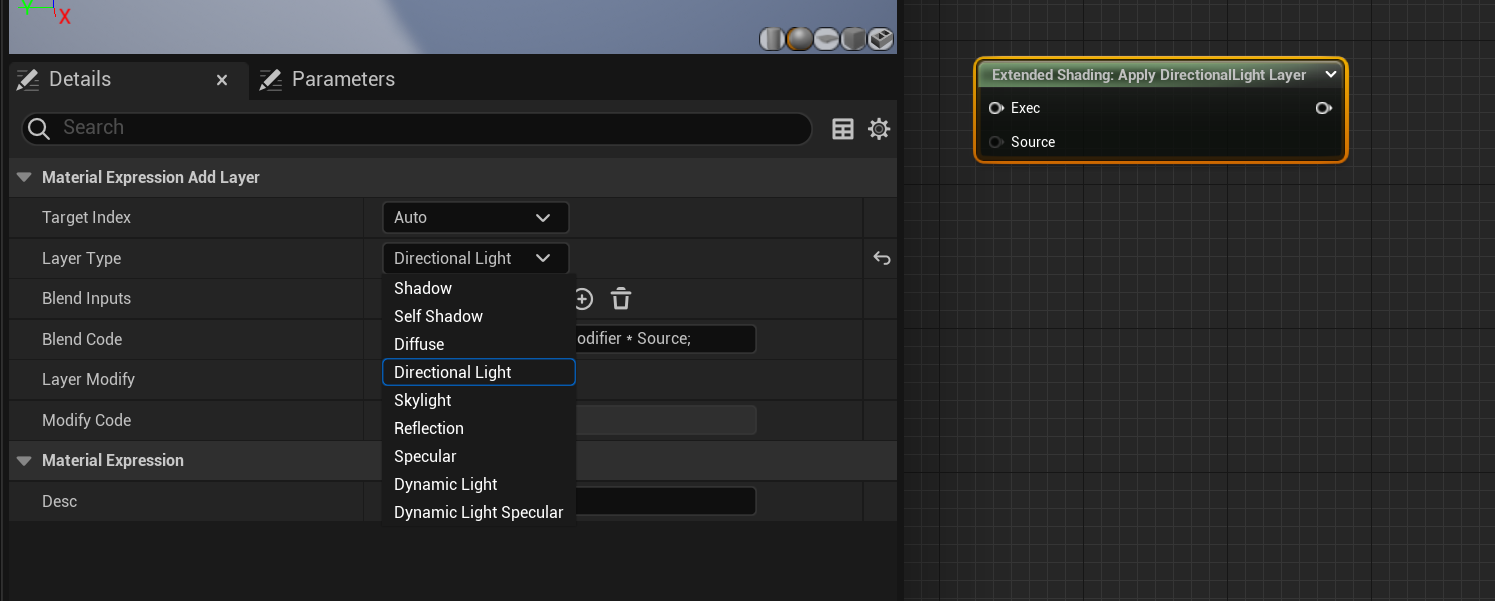
Extended Shadingnodes. - Inside
Detailsmenu of each node: expandLayer Typedropdown menu and selectDirectional Lightvalue for first node andSkylightvalue for second one. - Connect Nodes as in the image below and hit Apply button.
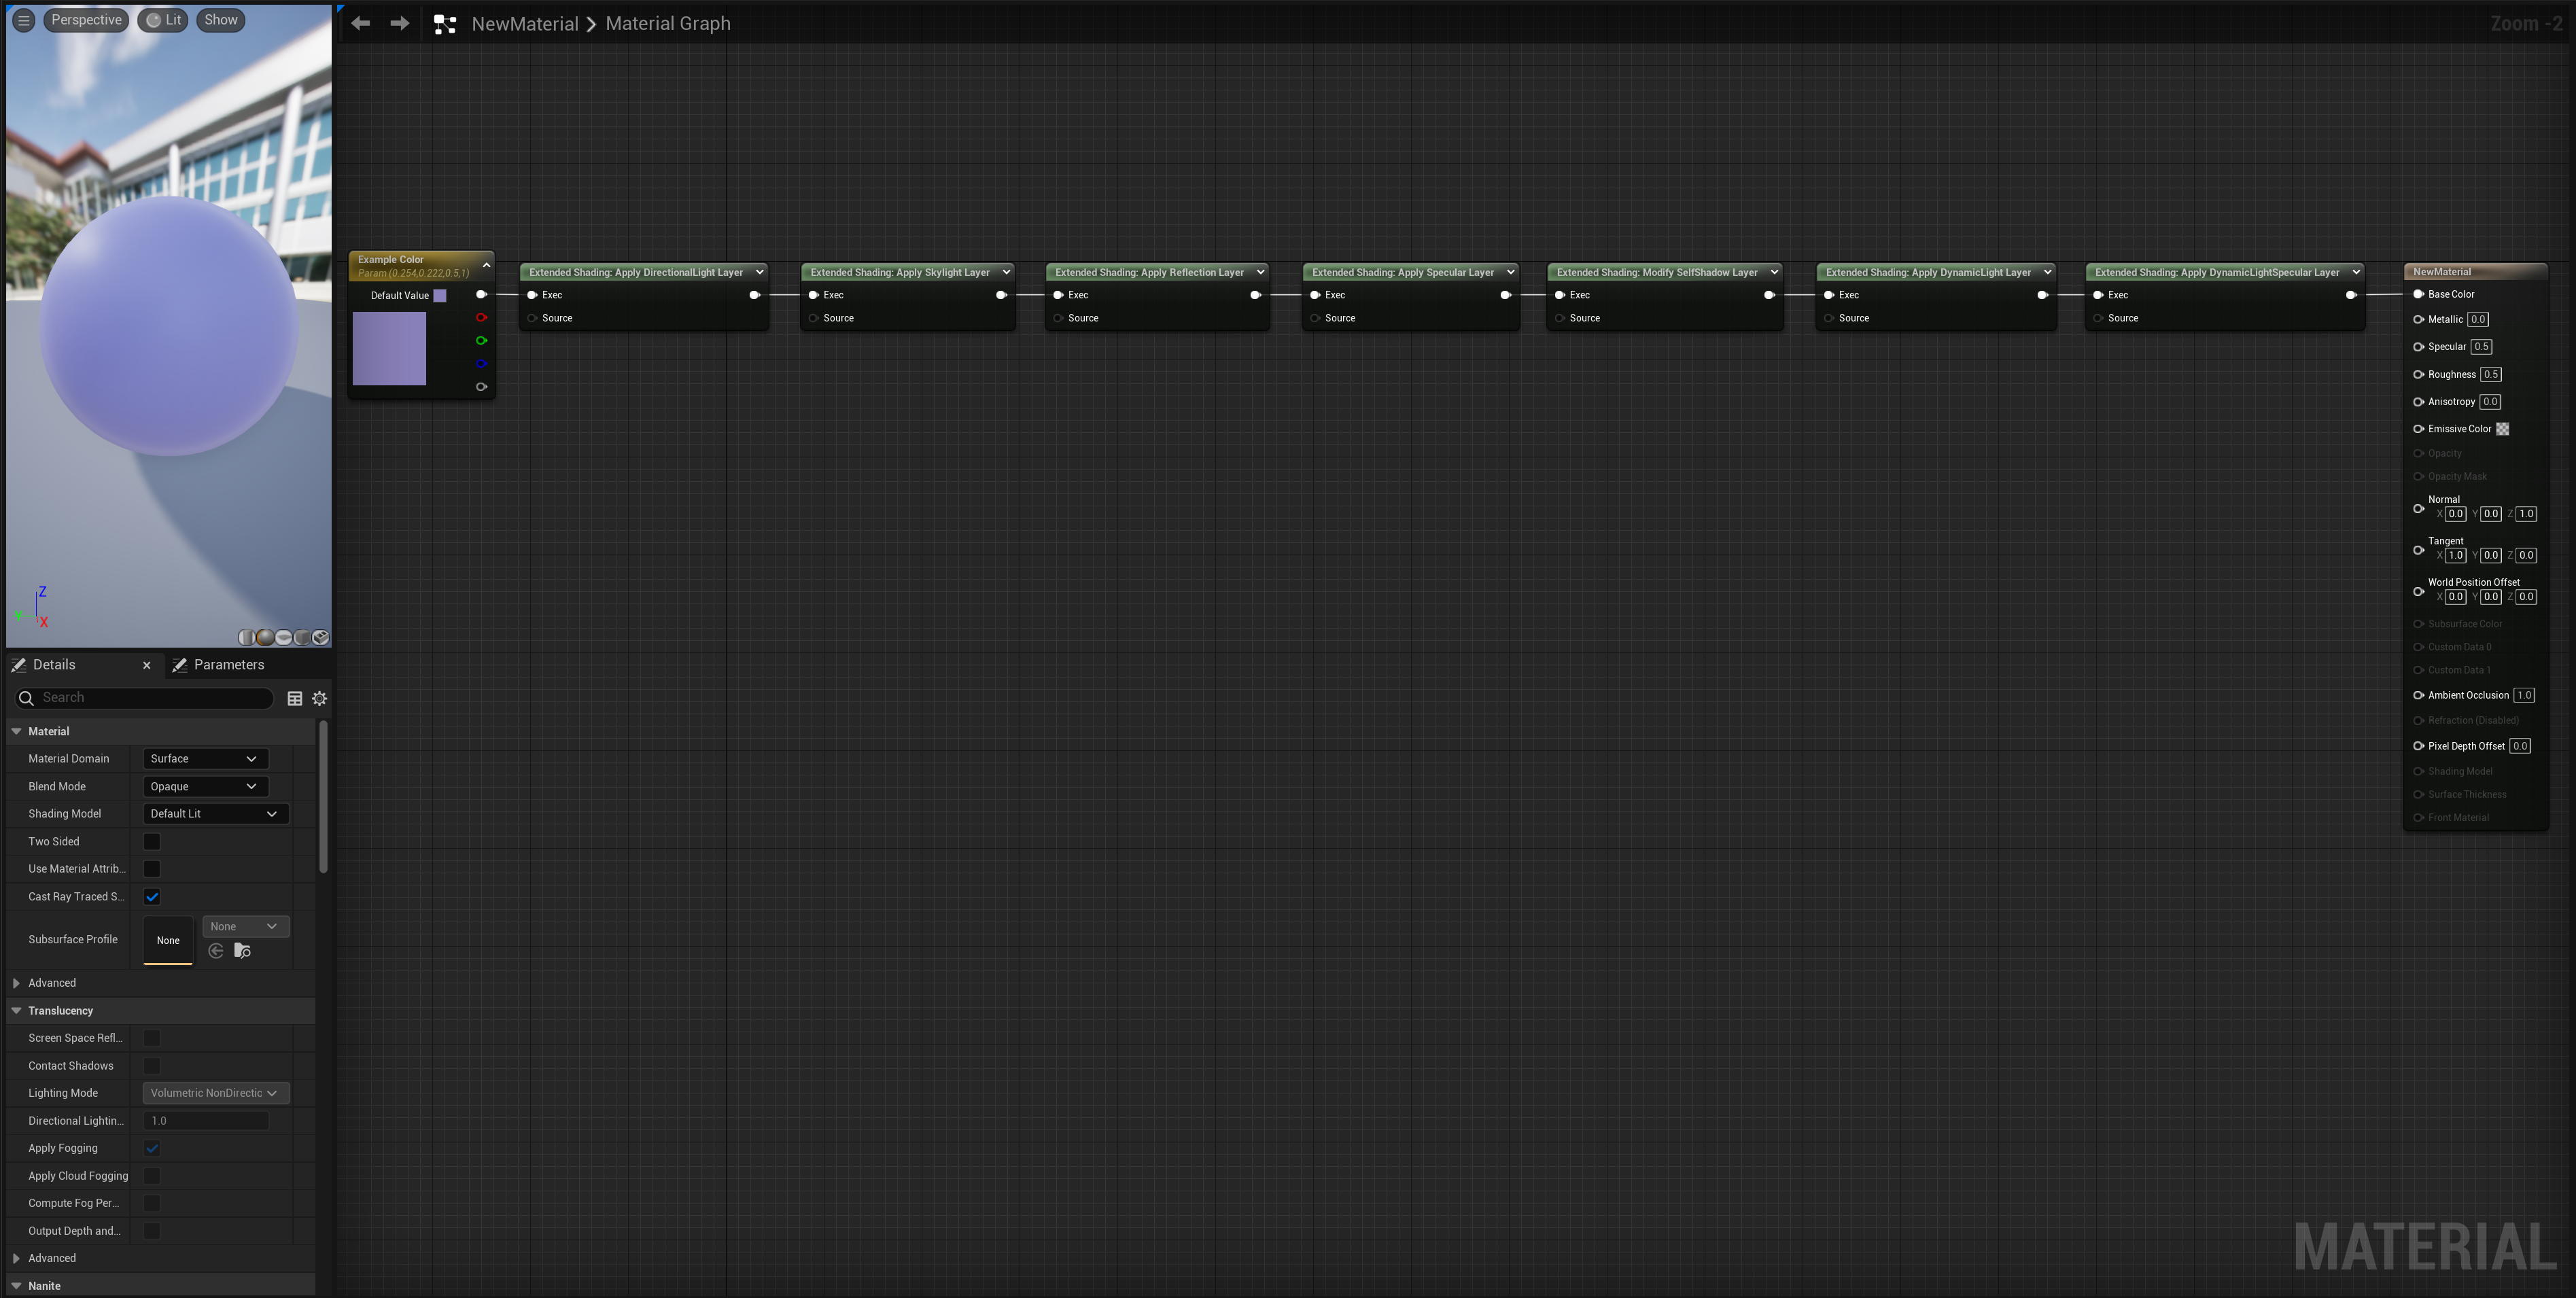
Recreating Default Pipeline
It is possible to recreate Default Forward Shading approach implemented in Unreal Engine by using Extended Shading node. Just follow the steps:
- Create seven
Extended Shadingnodes. - Configure their Layer Type values and connect them in following order:
- Directional Light
- Skylight
- Reflection
- Specular
- Self Shadow
- Dynamic Light
- Dynamic Light Specular
- Connect Nodes as in the image below and hit Apply button.
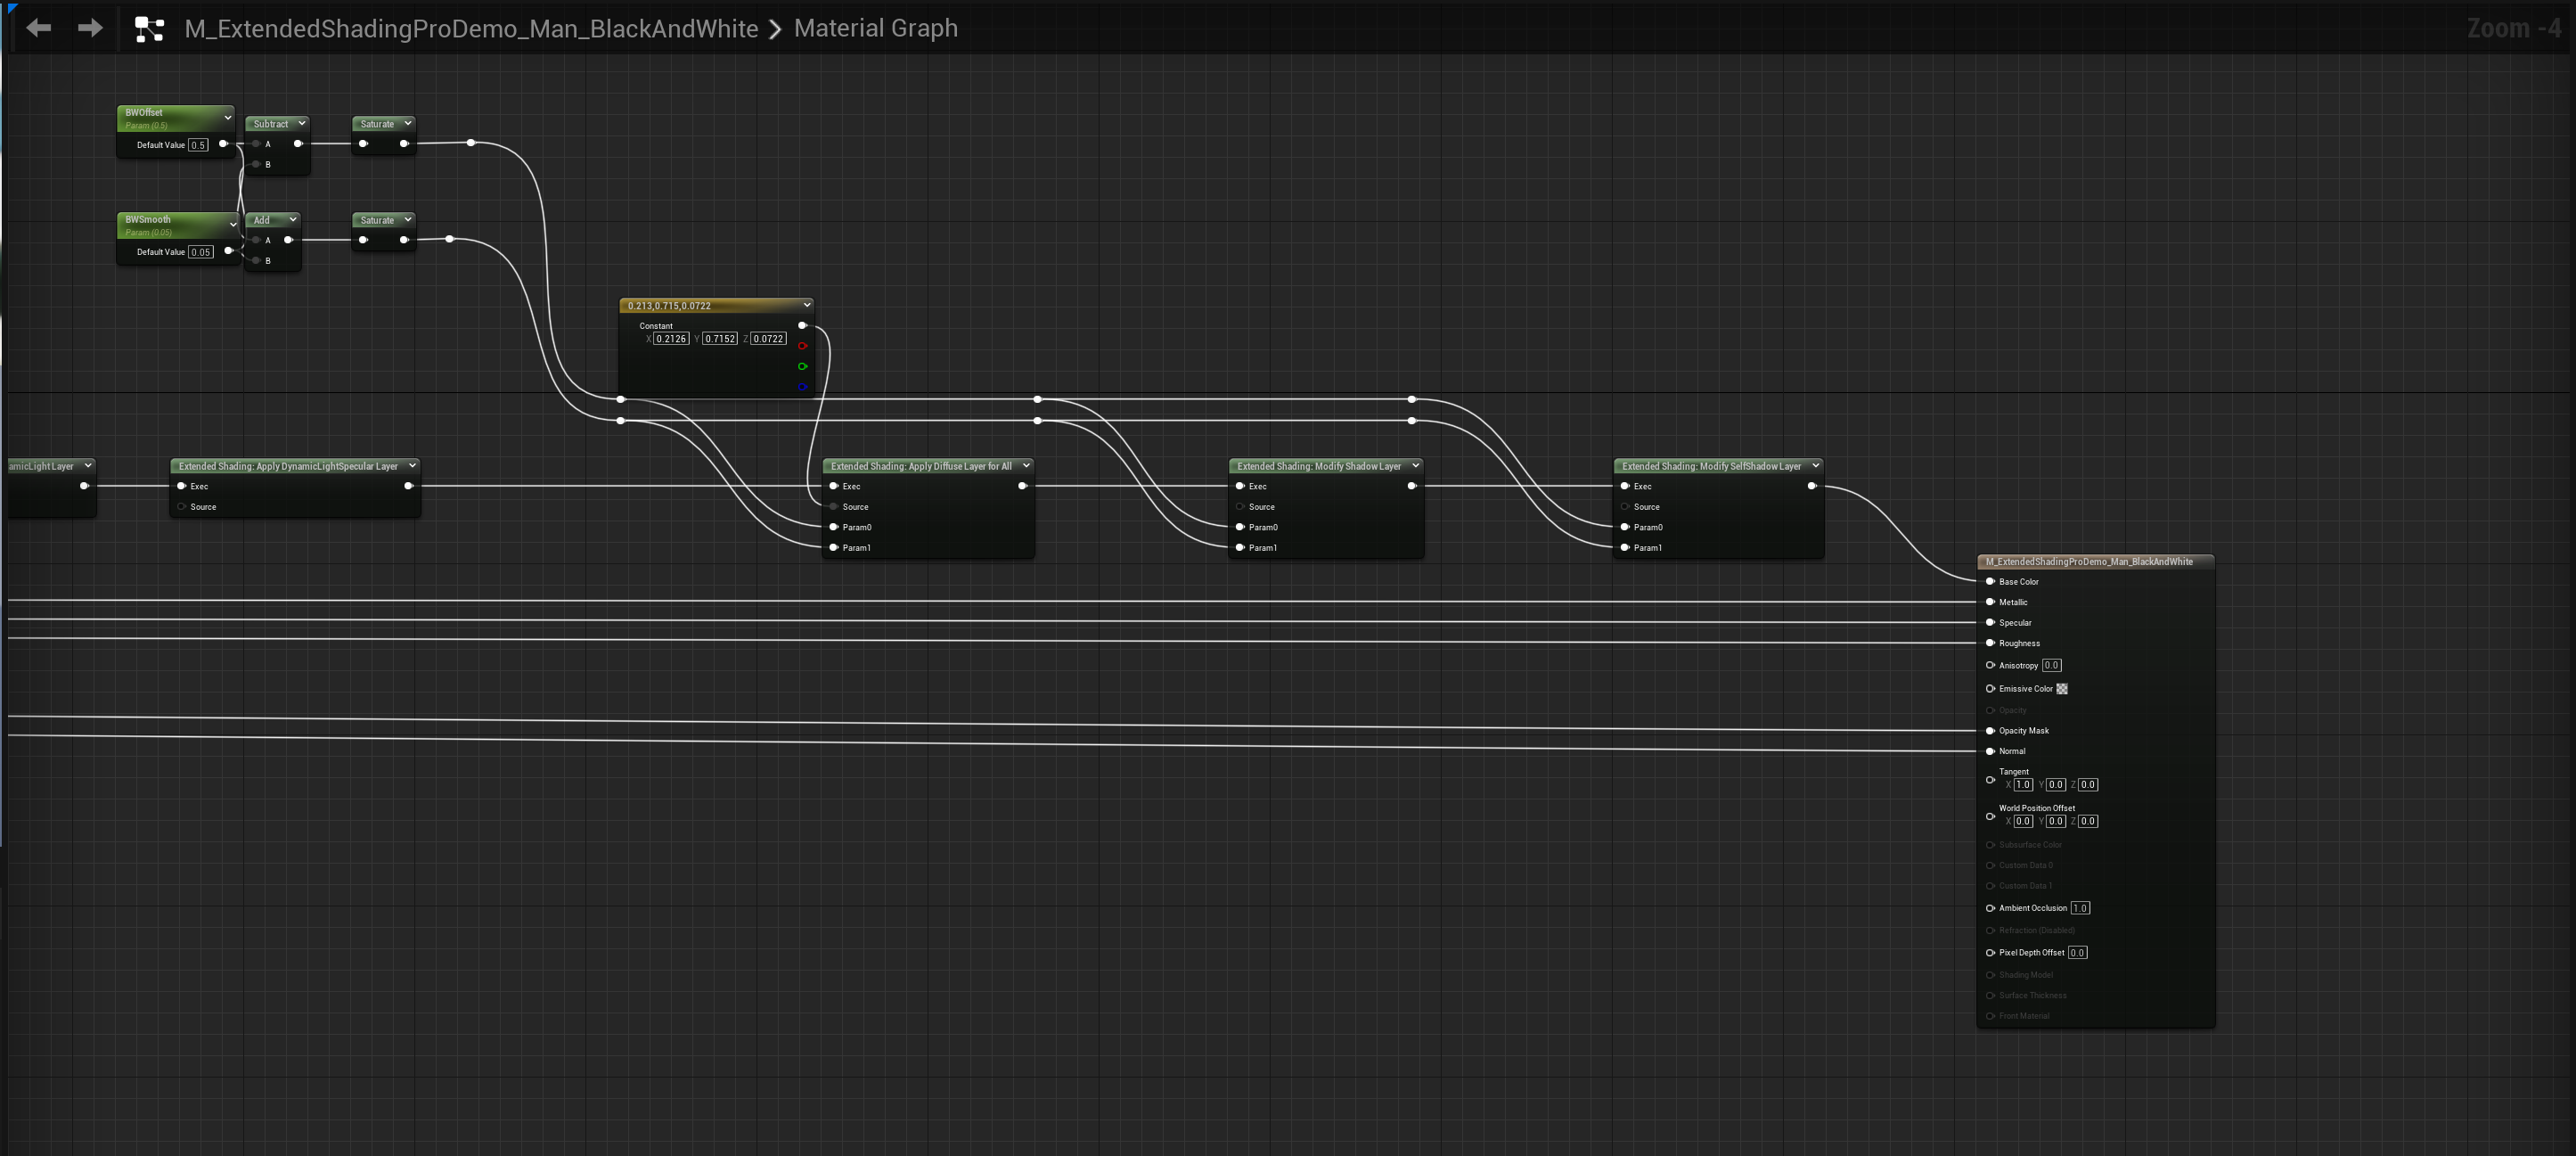
Moving Forward
Before you will be ready to create your own shading it is worth to study example materials that we have created for you! You can find them under the plugin directory. Example materials include great variety of styles: Halftone, Toon, BlackAndWhite, Negate and many more! Also be sure to check out Node Reference section below to get more info on parameters.
Node Reference
To fully utilize all Extended Shading node’s possibilities, it is important to understand its parameters.
Target Index
Target of the processed layer. It can take the following values:
All– apply the layer to the lighted and shadow parts of the object.Color– apply the layer only to the lighted part of the object.Shadow– apply the layer only to the shadow part of the object.Auto– apply the layer based onLayer Type:- For
Directional LightandSpecular– same asColor. - For
everything else– same asAll.
- For
Layer Type
Type of processed layer. It can take the following values:
Shadow– contains a global shadow, for example Cascaded Shadows, Modulated Shadows, etc.Self Shadow– contains a self shadow color, calculated by the dot product between the surface normal and the direction of light.Directional Light– contains a directional light color.Skylight– contains a skylight color.Reflection– contains a reflection color.Specular– contains the flare from the directional light.Dynamic Lights– contains dynamic light colors.Dynamic Lights Specular– contains flares from the dynamic light.
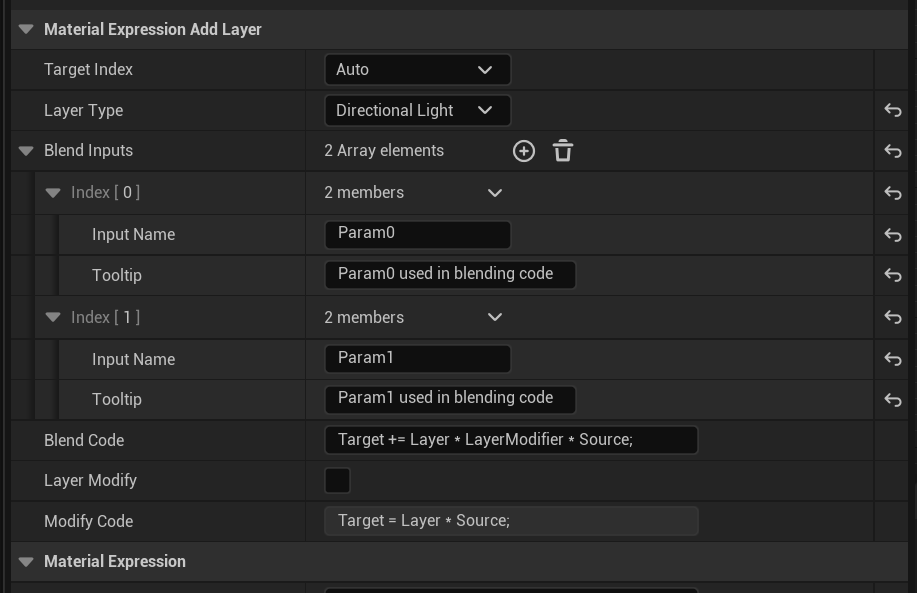
Blend Inputs
Expandable list of input pins to be used in final blend code.
Input Name
Text for displaying input pin name.
Tooltip
Text for displaying input pin description, when hovering over with the mouse.
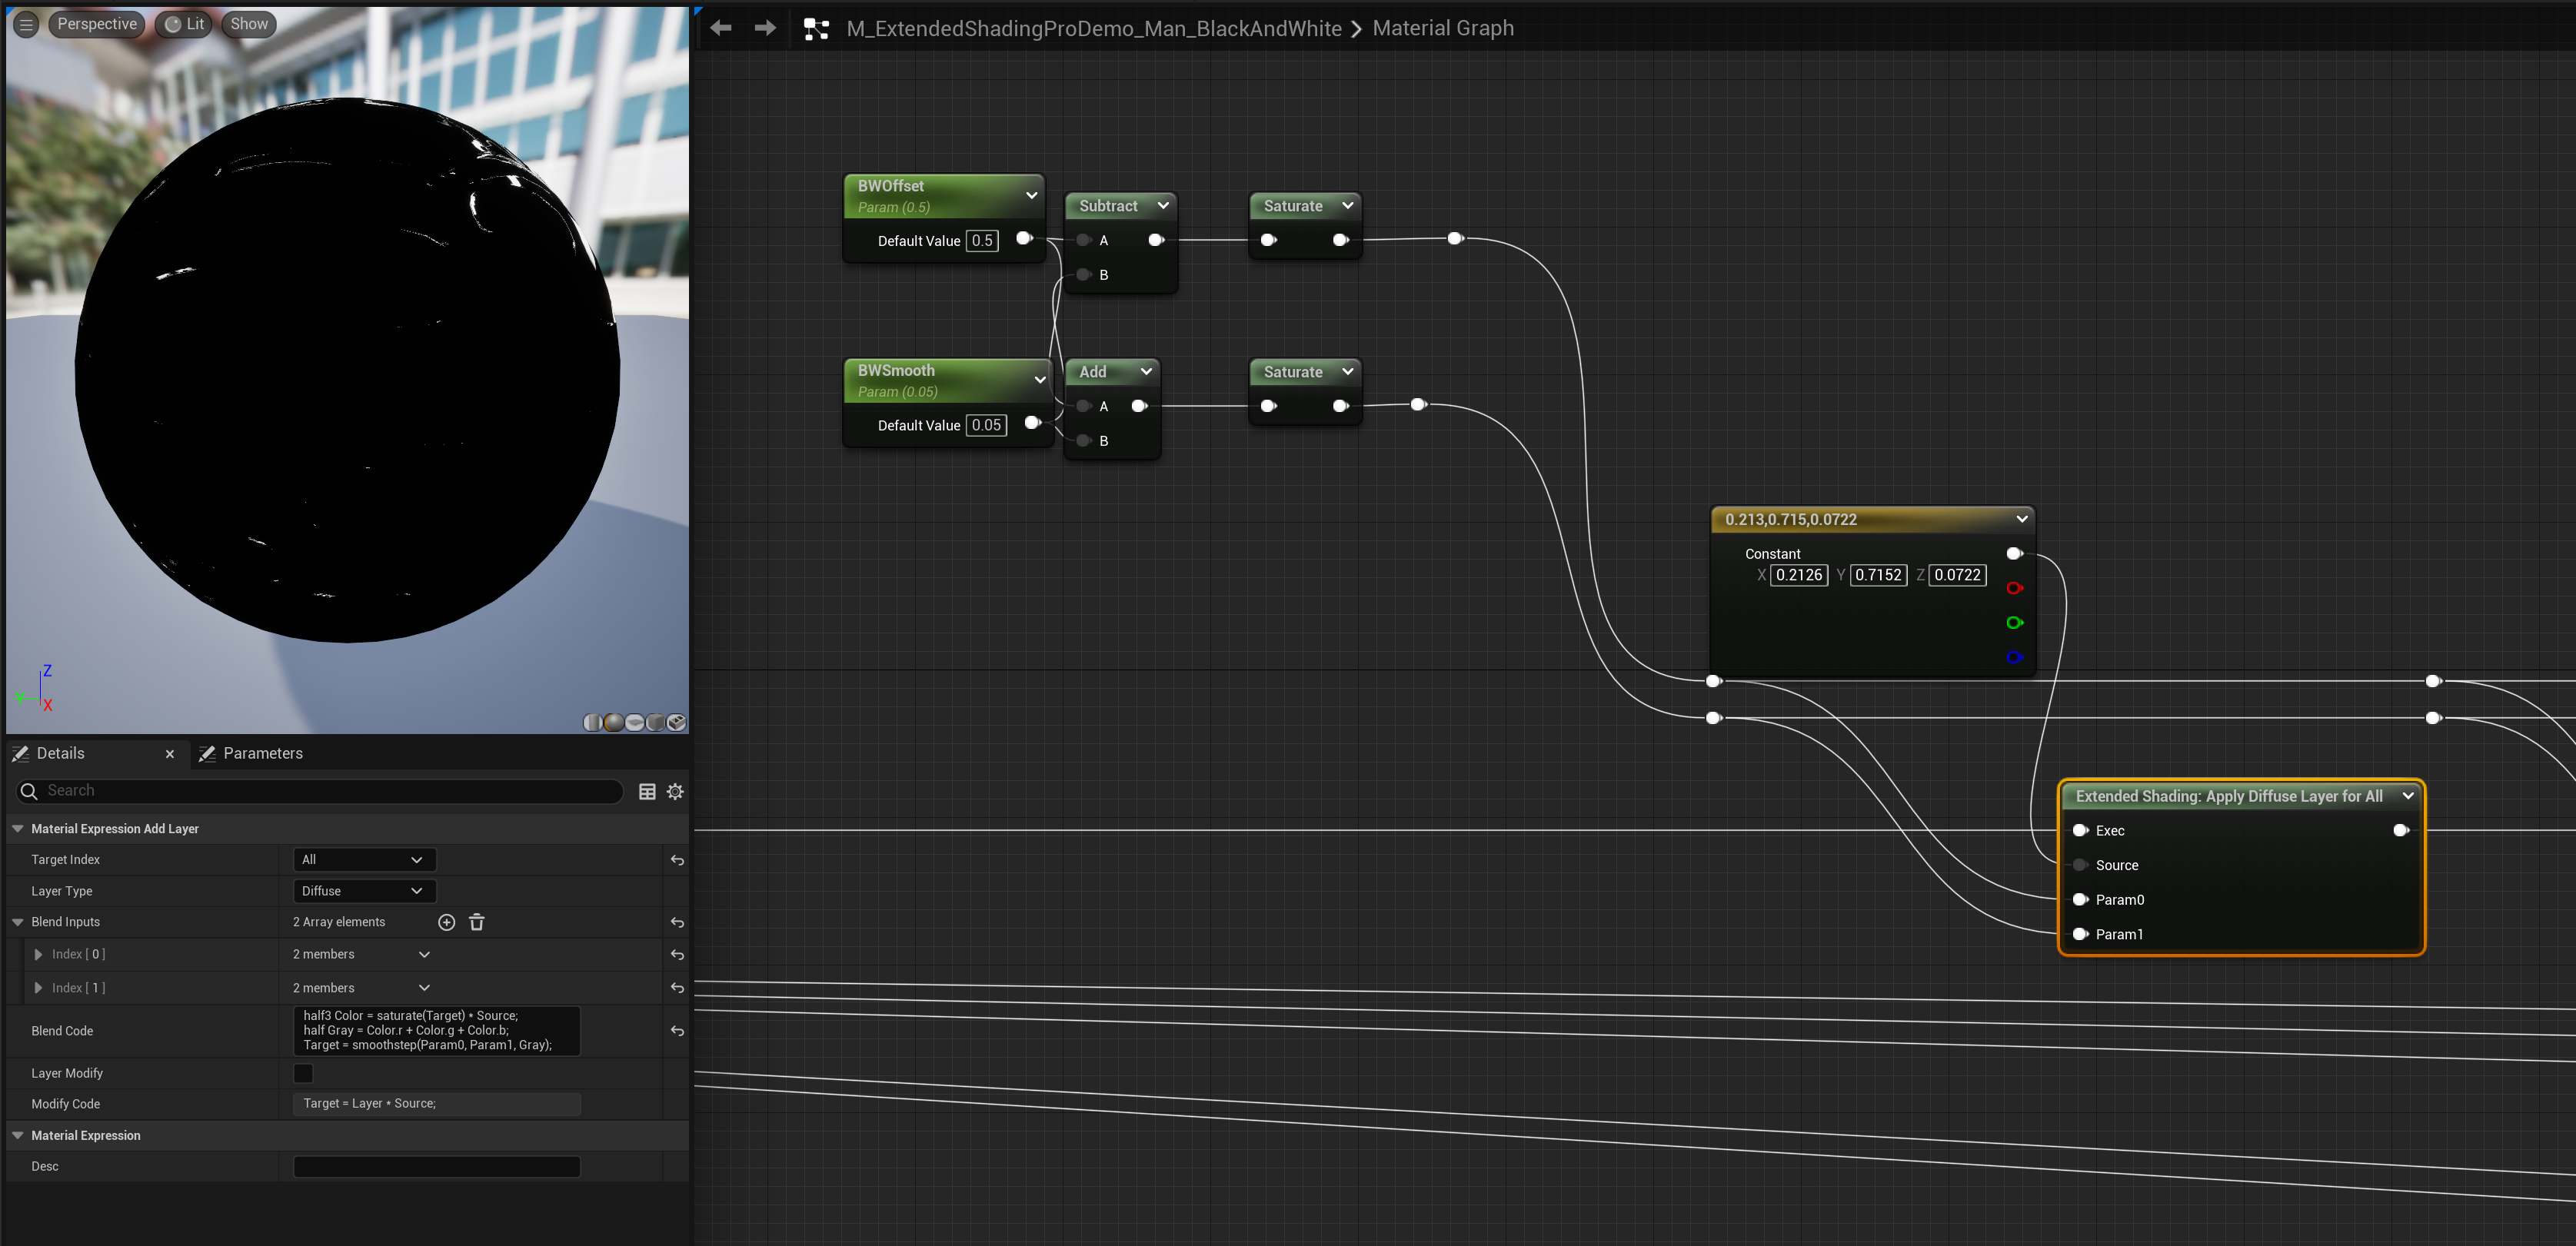
Blend Code
HLSL code for modifying scene object. This is the place to override default formula.
Note: Only active if
Layer Modifyisfalse.
Original Blend Code looks like this:
Target += Layer * LayerModifier * Source;Breaking this down we get the following:
Target– where we will accumulate the current layer. Its value depends on theTarget Index.Layer– layer color value, its content depends onLayer Type.LayerModifier– layer modification factor with following possible values:- For
Skylight,Directional Light,Dynamic Light–Diffuse Color - For everything else –
1.0f.
- For
Source– input parameter, if not specified then equals to1.0f.
When you are adding new Blend Inputs, they become available for using in this code!
Layer Modify
Boolean flag for Modify Code parameter activation.
Modify Code
HLSL code for modifying layer. This is the place to override default formula. This field works with other parameters the same way as Blend Code.
Note: Only active if
Layer ModifyistrueorLayer Typehas values:Shadow,Self Shadow.
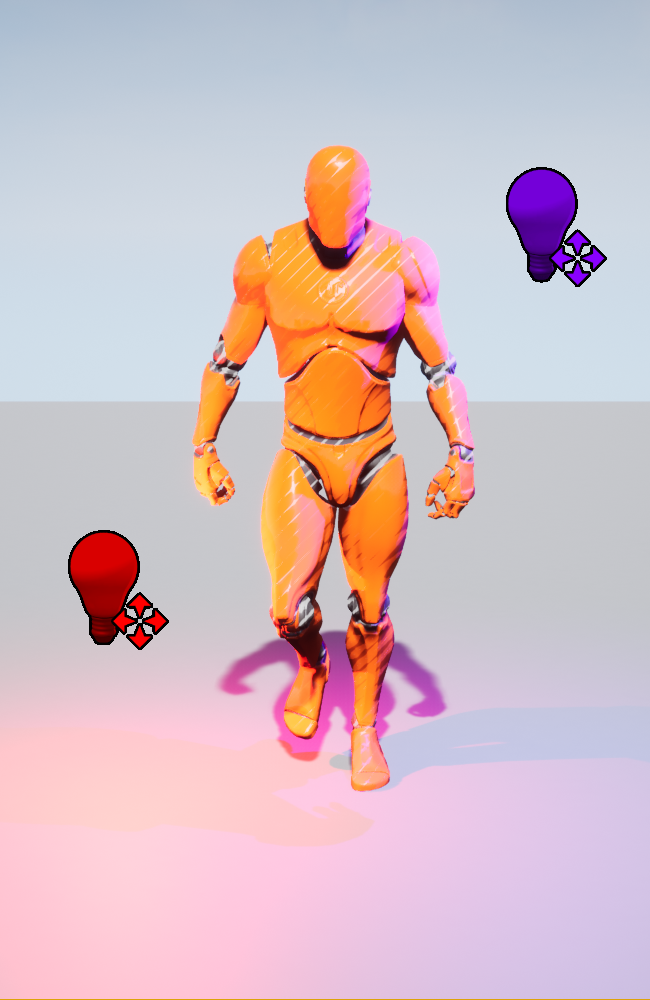
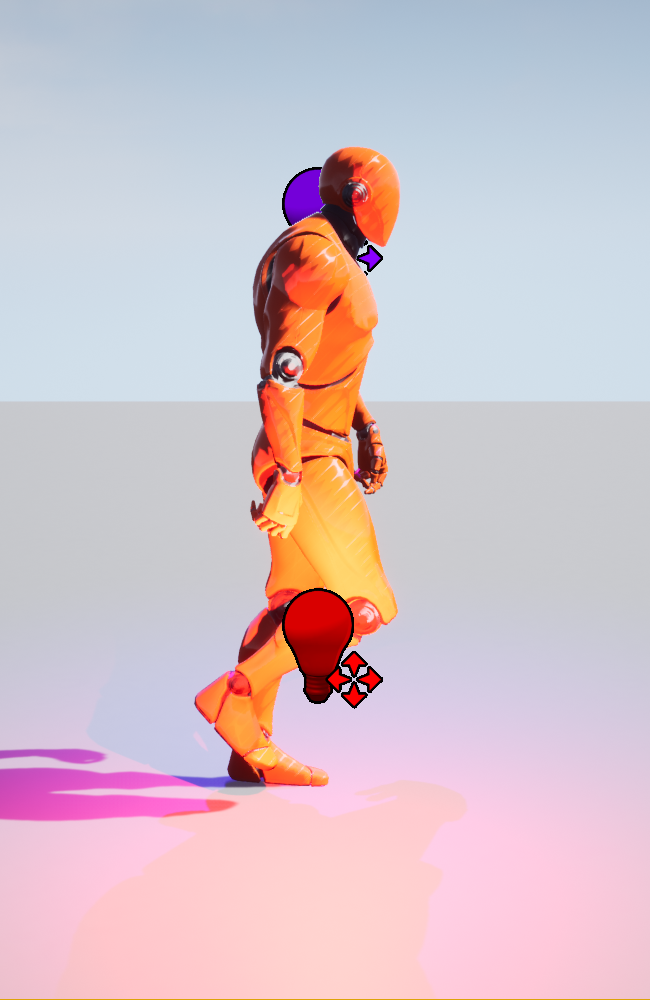
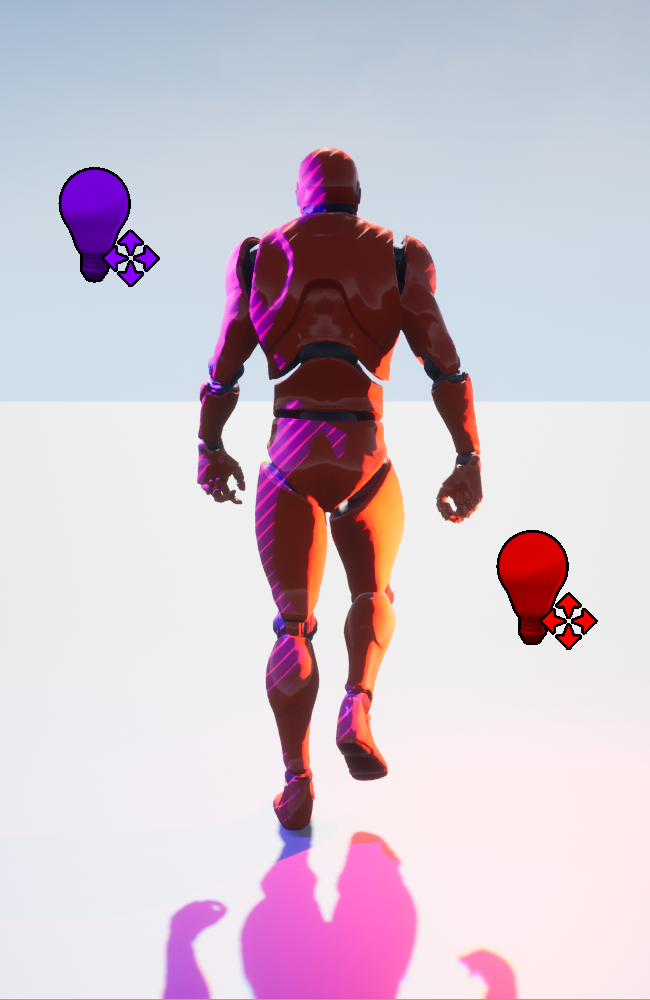
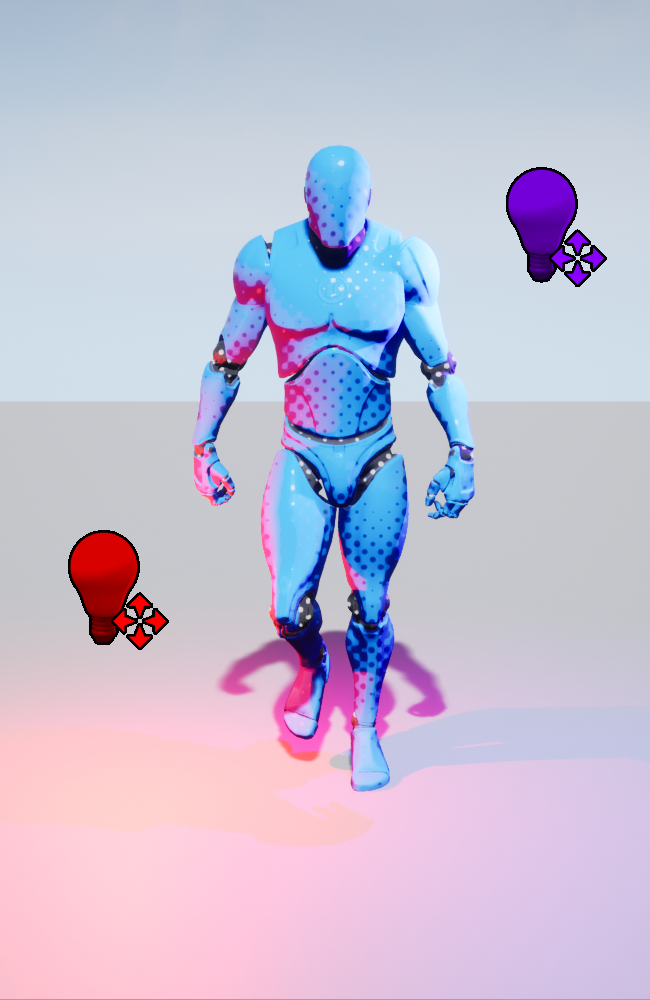
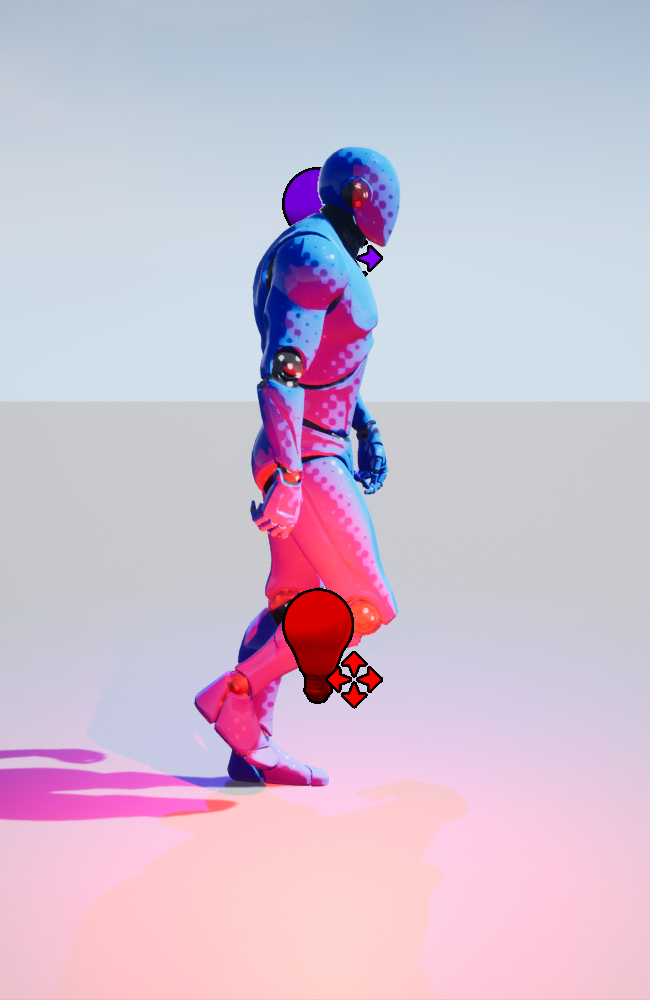
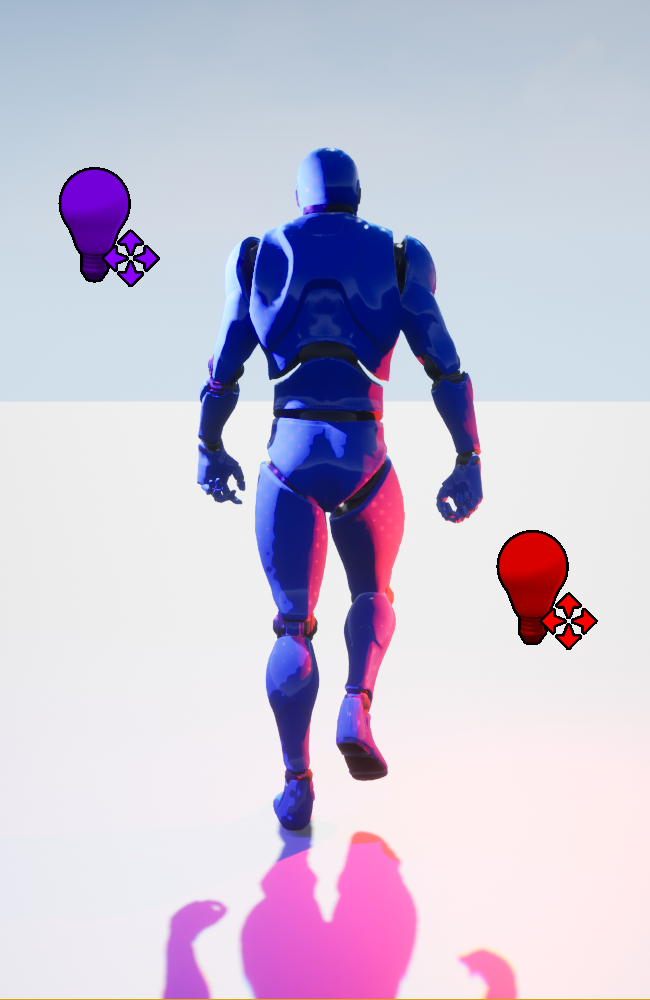
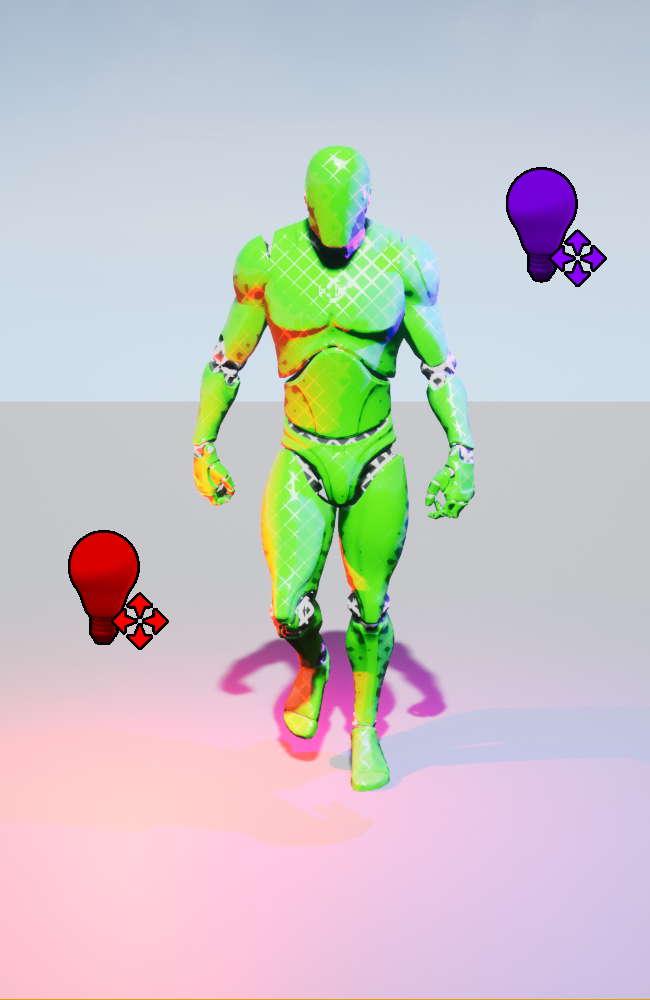
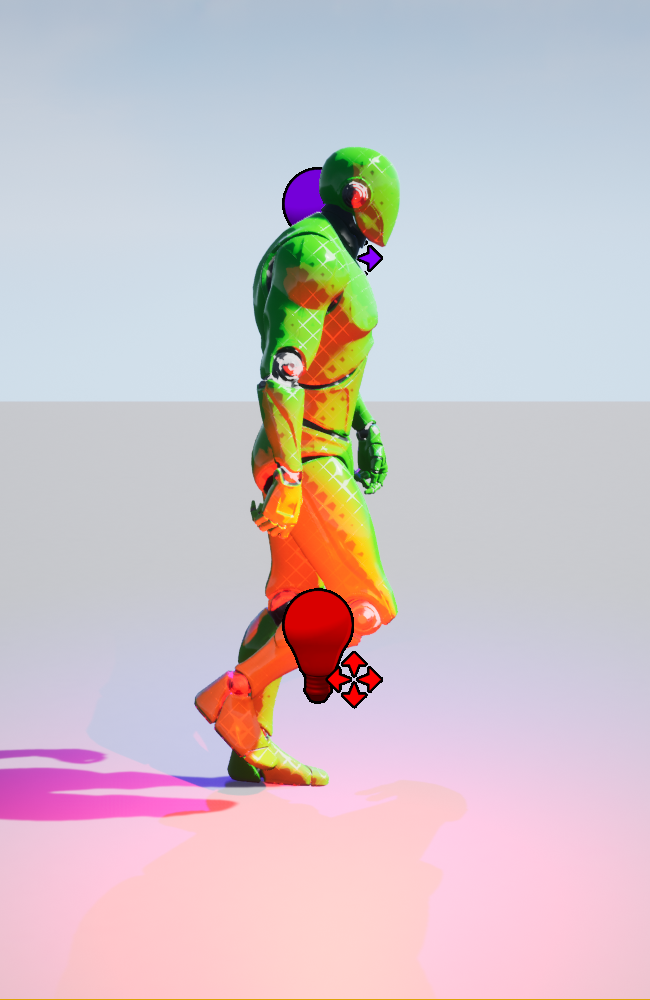
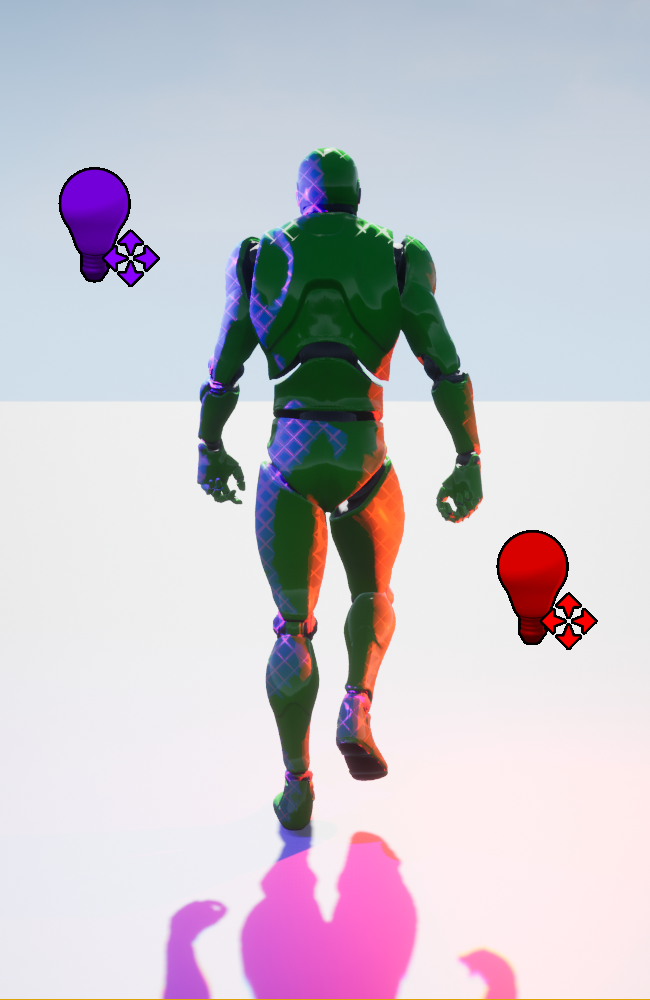
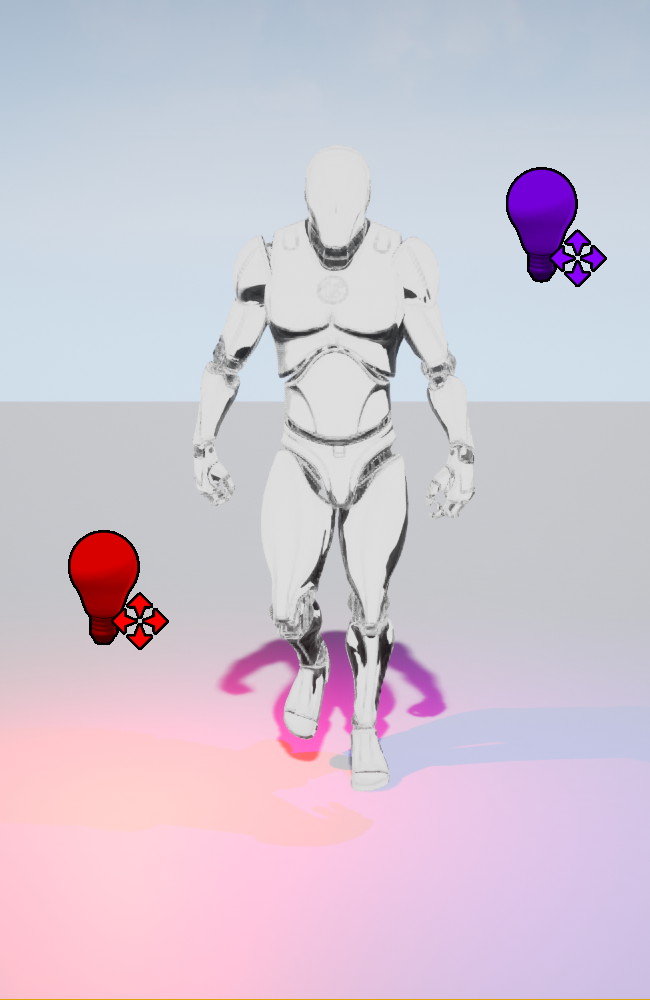
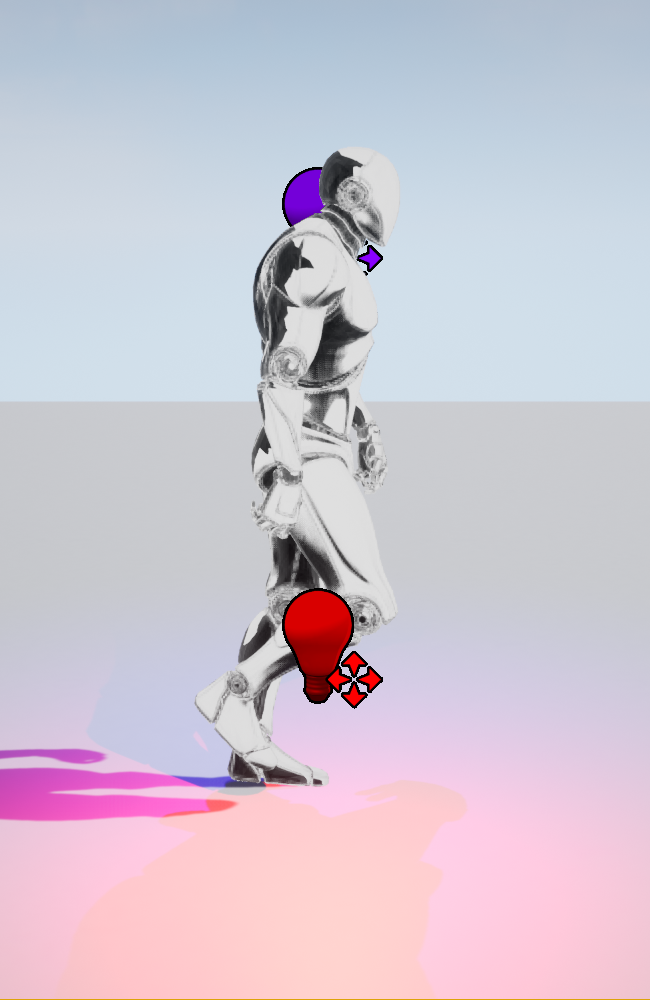
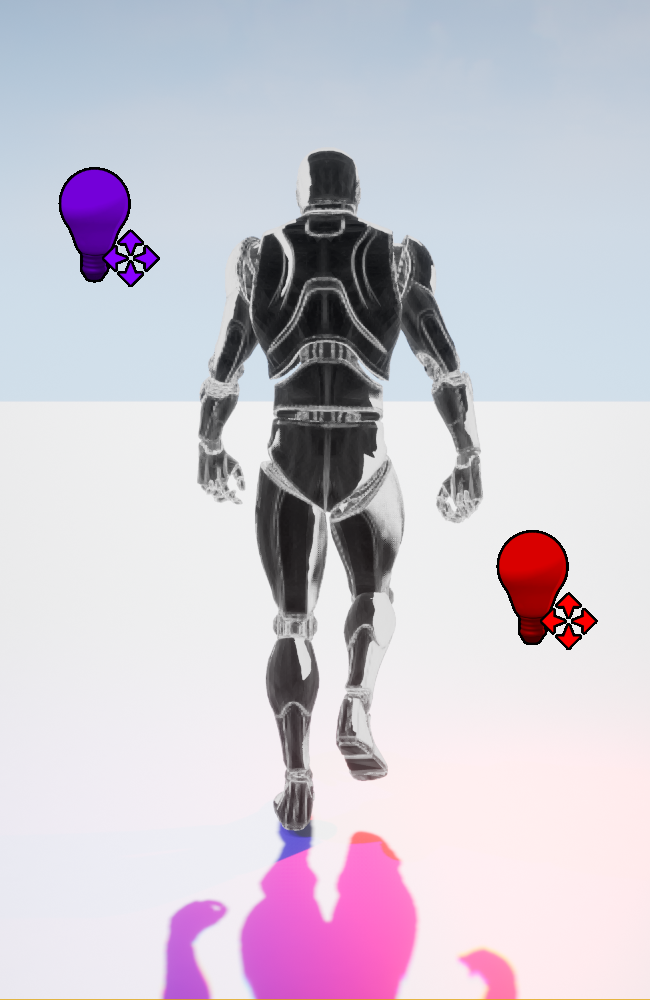
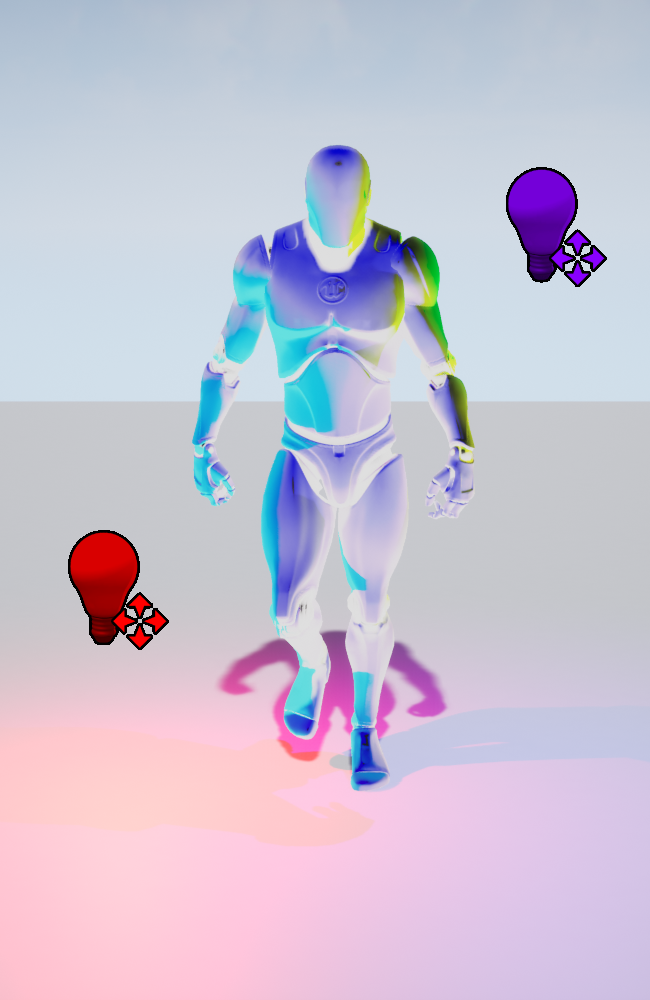
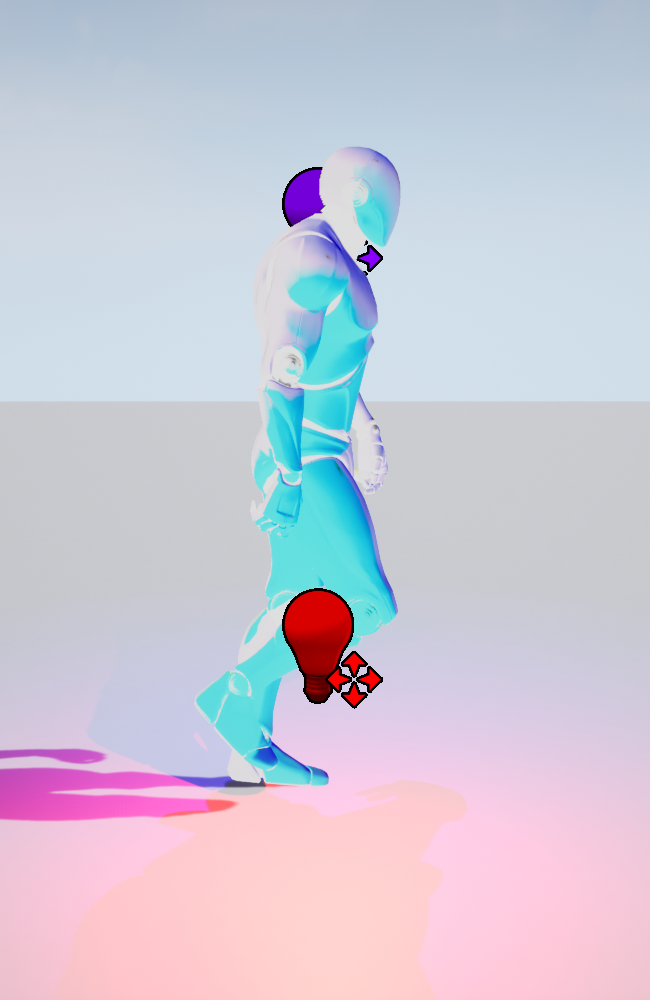
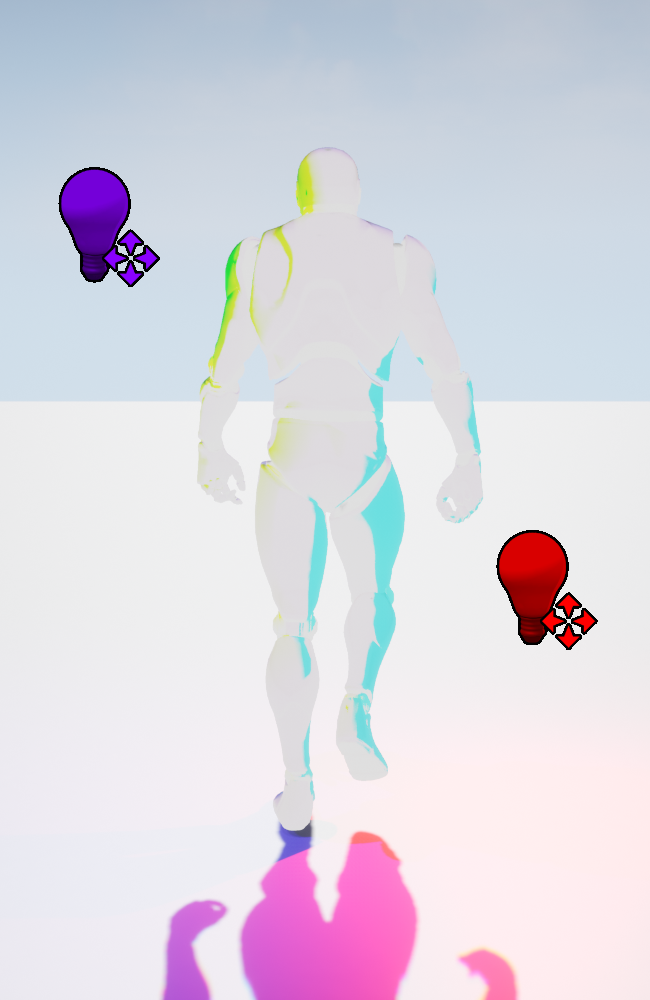
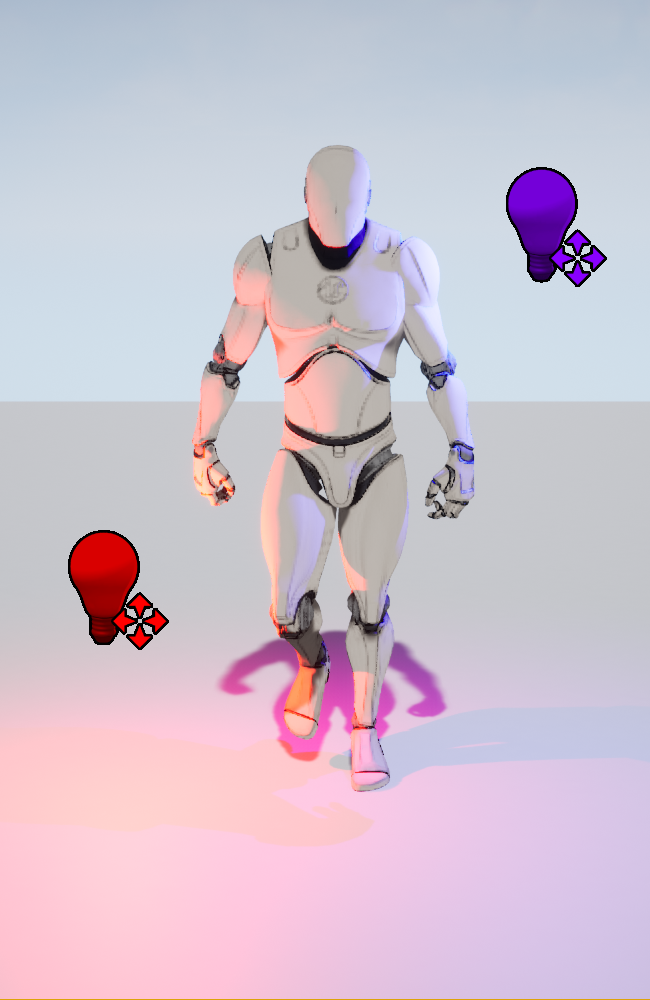
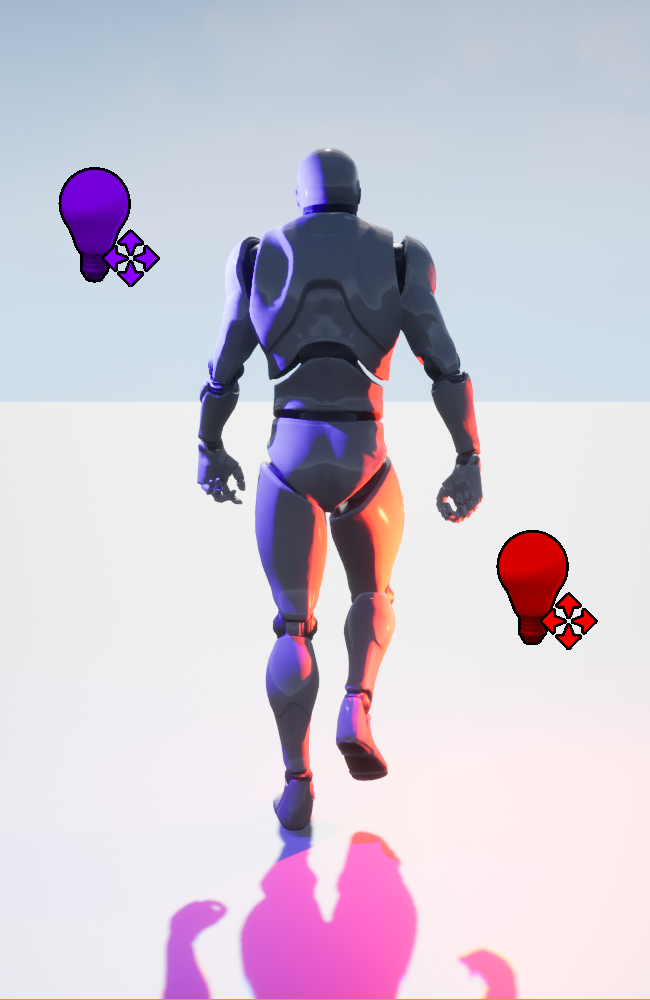
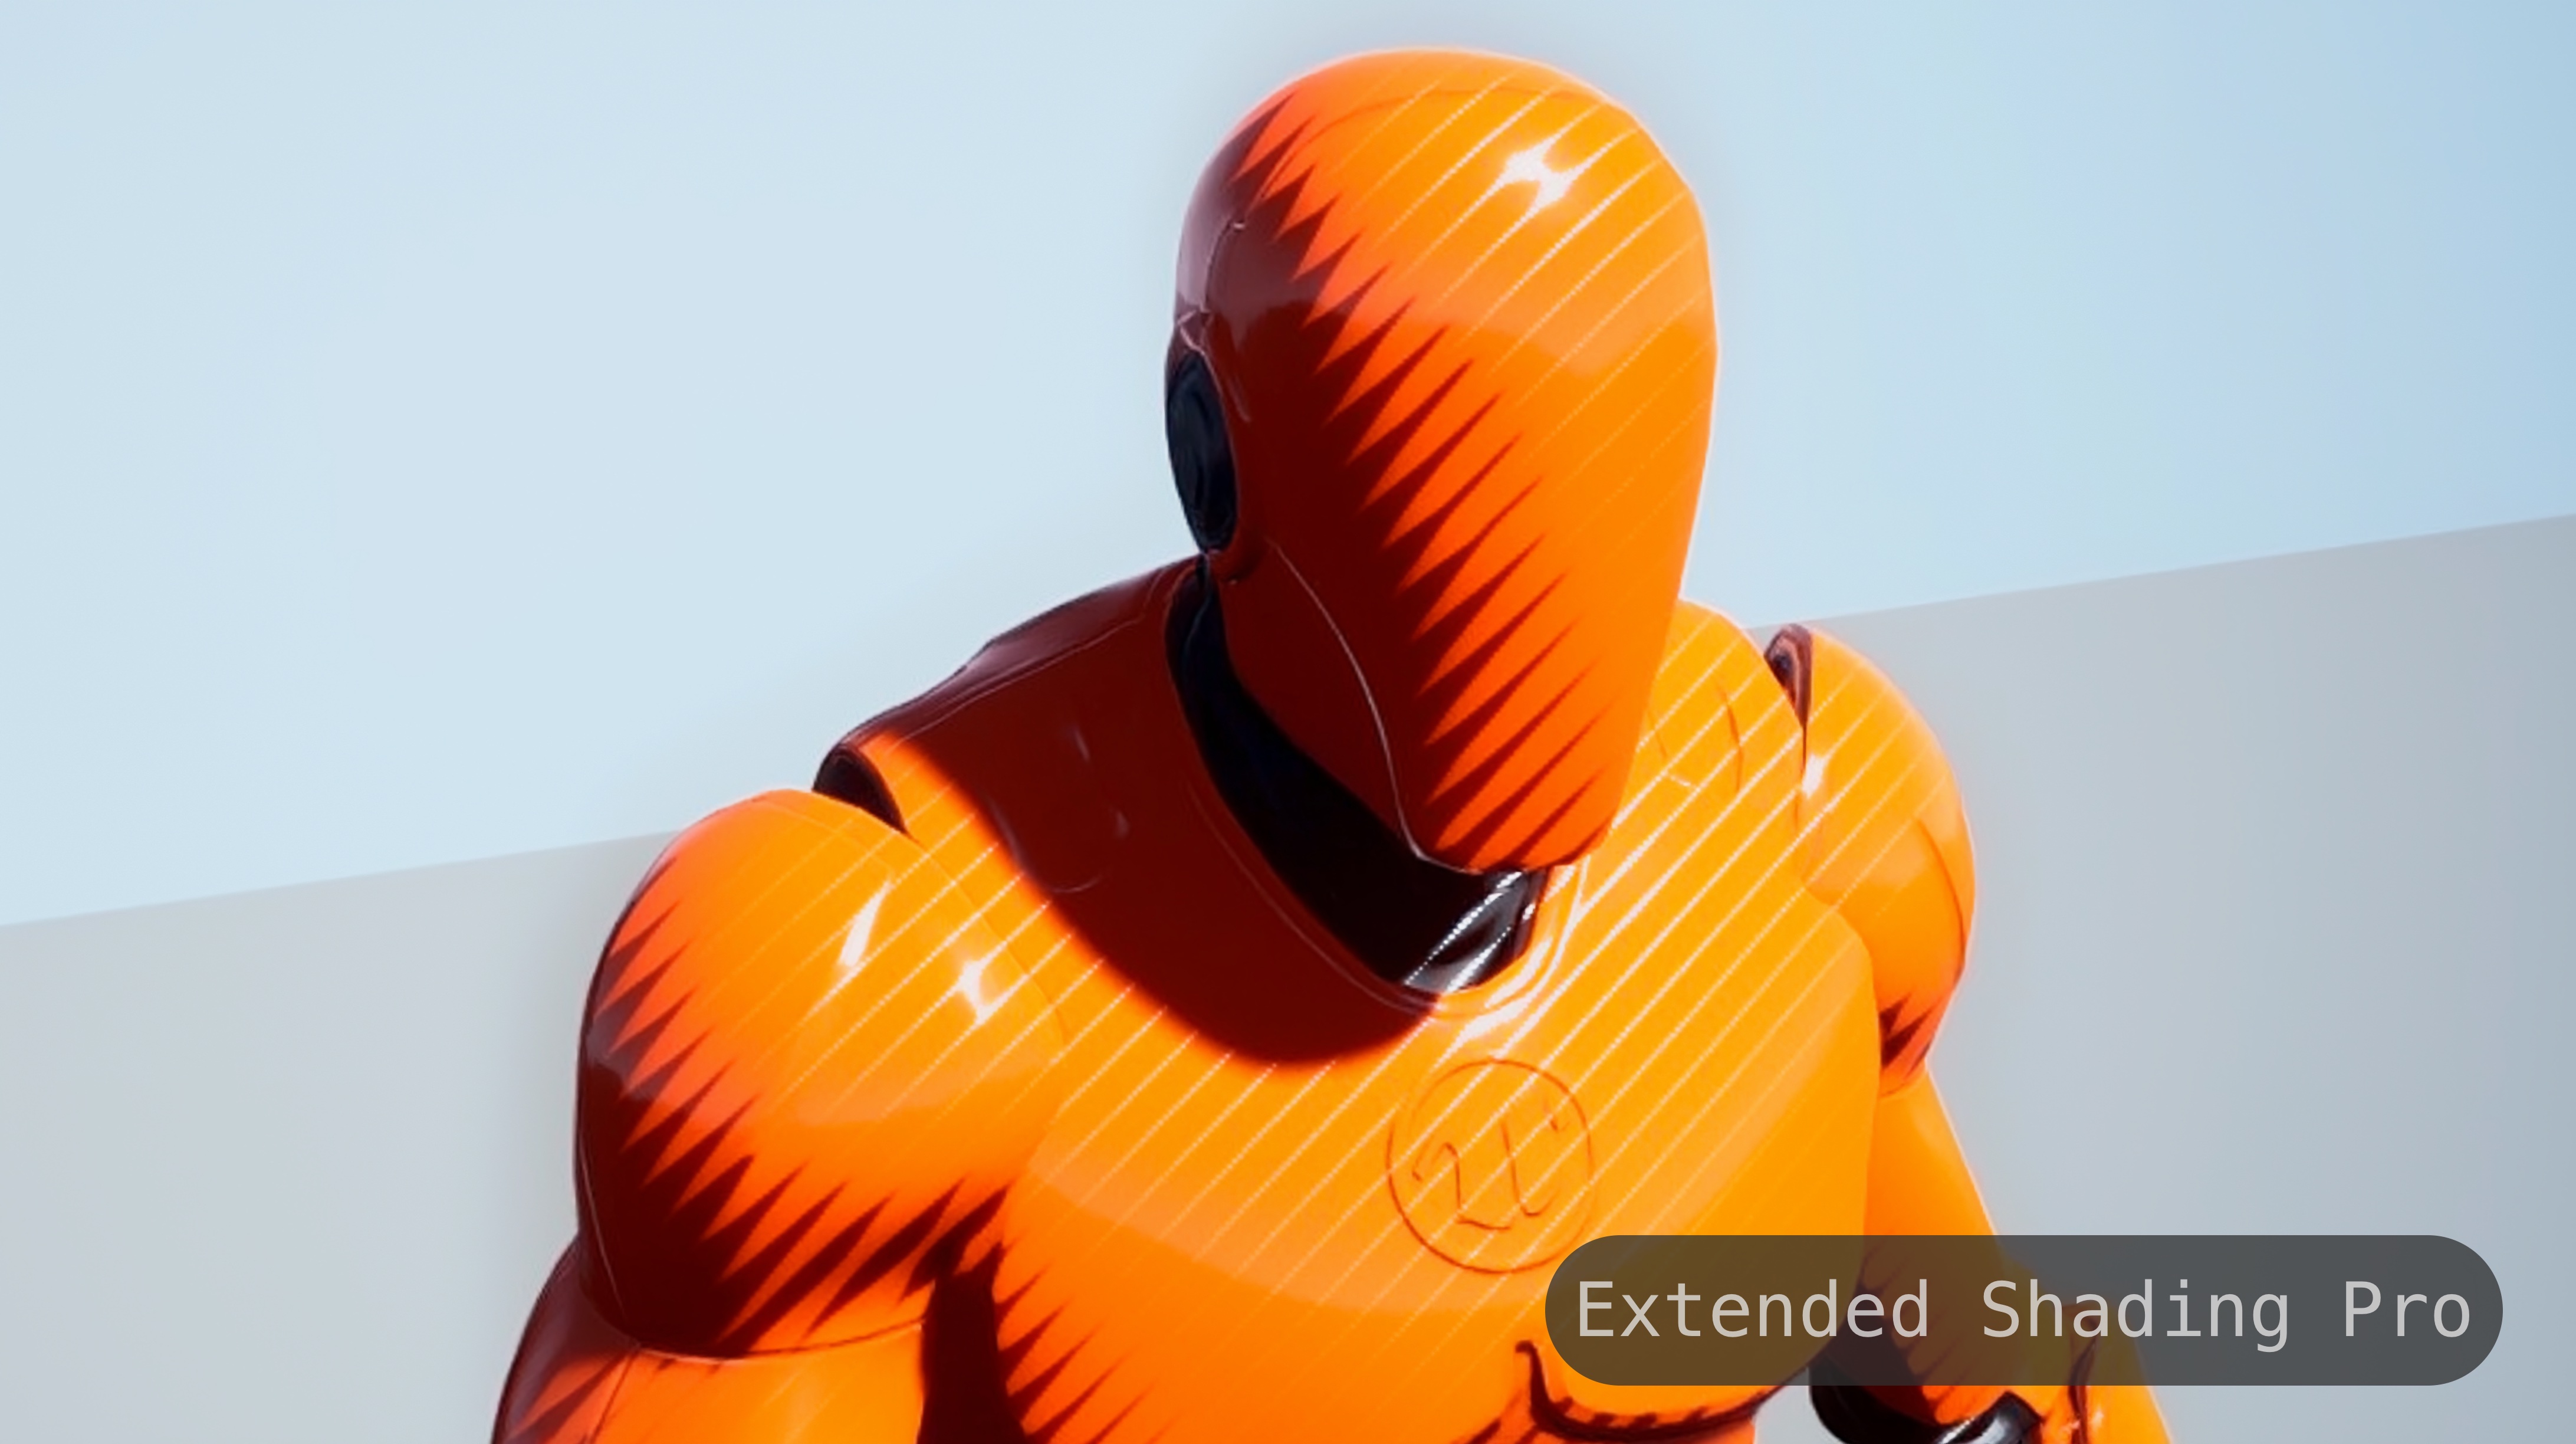
Gallery
Take a look at what can be achieved with Extended Shading Pro!