- Marketplace link
- Support (nikolay@prudnikov.dev)
Introduction
What is Extended Shading?
Extended Shading Pro, does just what its name implies, it extends Unreal Engines material editor. It does this using special layer nodes. These nodes allow you to access, use, and modify lighting information directly on your material with a degree of ease, flexibility and performance that you’d be unable to achieve with any other custom shading methods.
What is the Layer?
The PrLayer node allows you to target and select various types of lighting information from Unreal Engine’s rendering pipeline. This information would otherwise be inaccessible within the material editor, but now this lighting information can then be used and modified within your material.
The PrLayer node supports 7 layers:
- Shadow
- Self Shadow
- Diffuse
- Directional Light
- Skylight
- Reflection
- Specular
Important! This is a LITE version of the plugin. It does not support point lights and static lights.
Each of these layers can be processed and applied to a scene object.
What is needed for the plugin to work?
For the plugin to work, just enable Forward Rendering.
What platforms does the plugin support?
All platforms! Including mobile!
How it works?
All plugin features are contained in the PrLayer node.
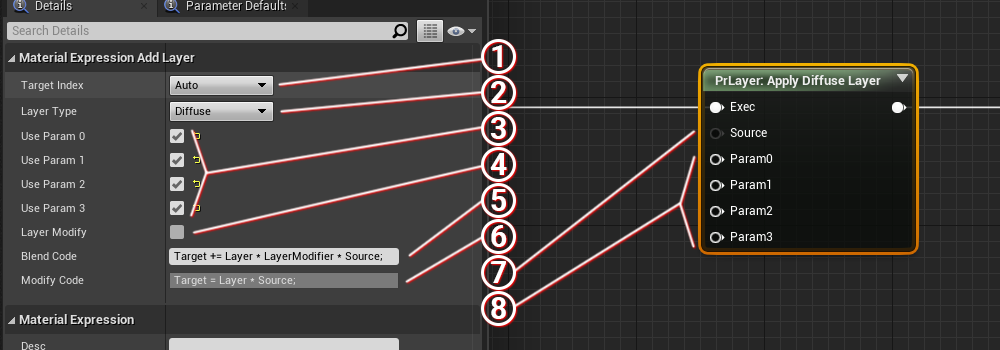
- Target index (1) – target of the processed layer, can take the following values:
- All – apply the layer to the lighted and shadow parts of the scene object
- Color – apply the layer to only the lighted part of the scene object
- Shadow – apply the layer only to the shadow part of the scene object
- Auto – apply the layer according to value in Layer Type (2)
- For Directional Light and Specular – apply the layer to the lighted part of the scene object
- For everyone else, apply the layer to the lighted and shadow parts of the scene object
- Layer Type (2) – type of processed layer, can take the following values:
- Shadow – the layer contains a global shadow, for example Cascaded Shadows, Modulated Shadows, etc.
- Self Shadow – the layer contains a self shadow, calculated by the dot product between the surface normal and the direction of light
- Directional Light – the layer contains the color of the directional light
- Skylight – the layer contains the skylight color
- Reflection – the layer contains the reflection color
- Specular – the layer contains the flare from the directional light
- Use Param0..3 (3, 8) – additional parameters calculated in blueprint
- Layer Modify (4) – a node property that allows switching the node to layer editing mode
- Blend Code (5) – code for modifying a scene object
- Modify Code (6) – layer modification code, available if Layer Modify (4) is active or Layer Type (2) has values: Shadow or Self Shadow
Documentation
First, let’s understand how UE4 applies light to a scene object, consider this in simplified code:
float3 Colored = 0;
Colored += Skylight * DiffuseColor;
Colored += DirectionalLight * DiffuseColor;
Colored += Specular;
Colored += Reflection;

float3 Shadowed = 0;
Shadowed += Skylight * DiffuseColor;
Shadowed += Reflection;

float3 Result = lerp(Shadowed, Colored, Shadow);
To repeat the UE4 rendering pipeline using the plugin, it is enough to do the following sequence:

The result will be the same as in UE4 without the plugin. At this point, we did not create any overhead, but completely switched the rendering of the material through the plugin.
Blend Code
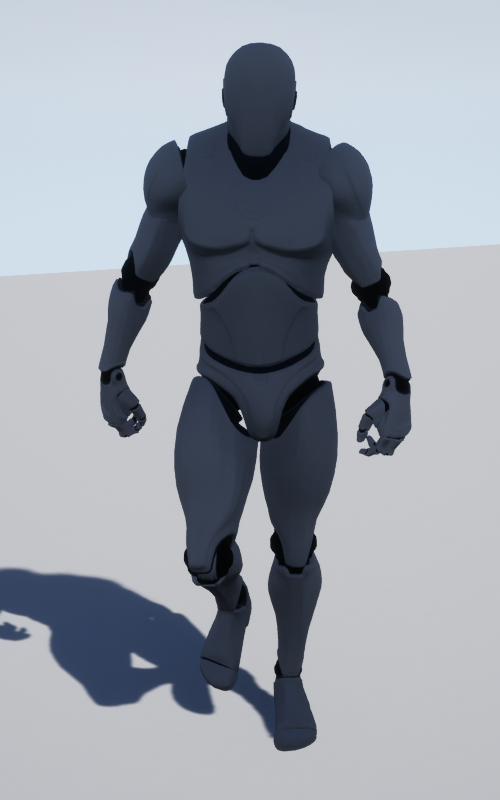
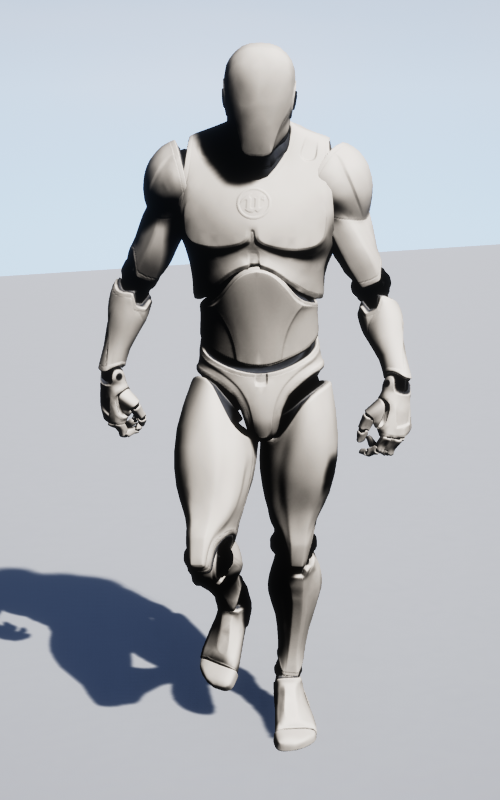
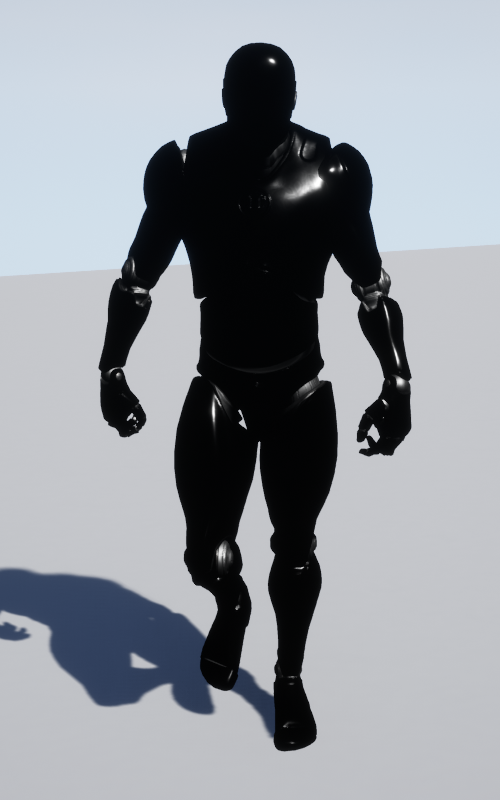
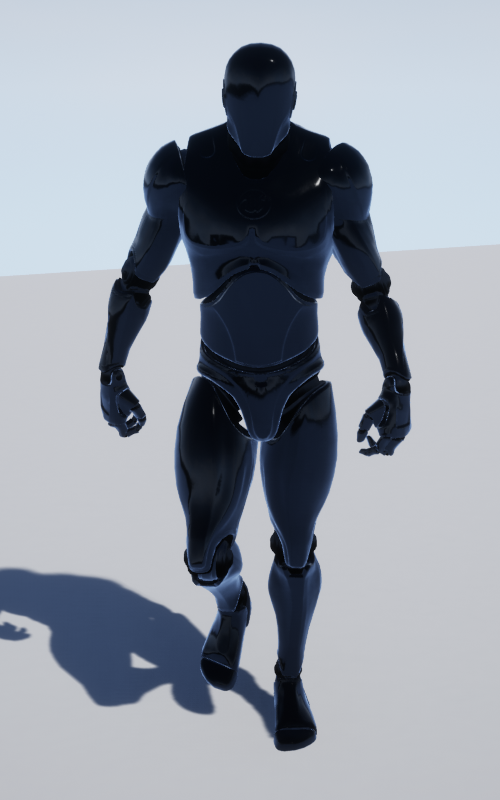
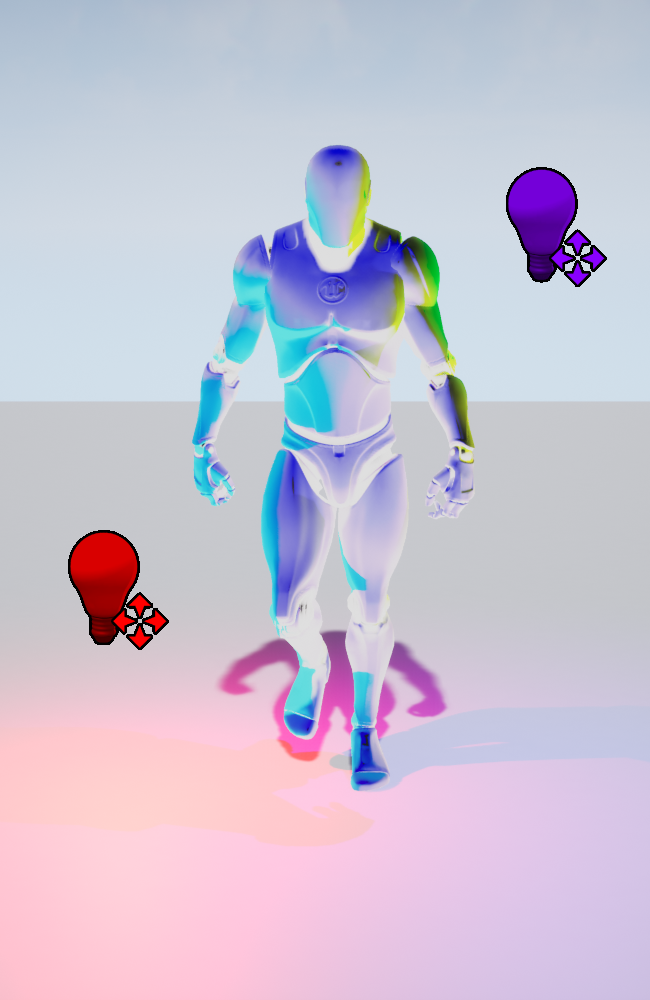
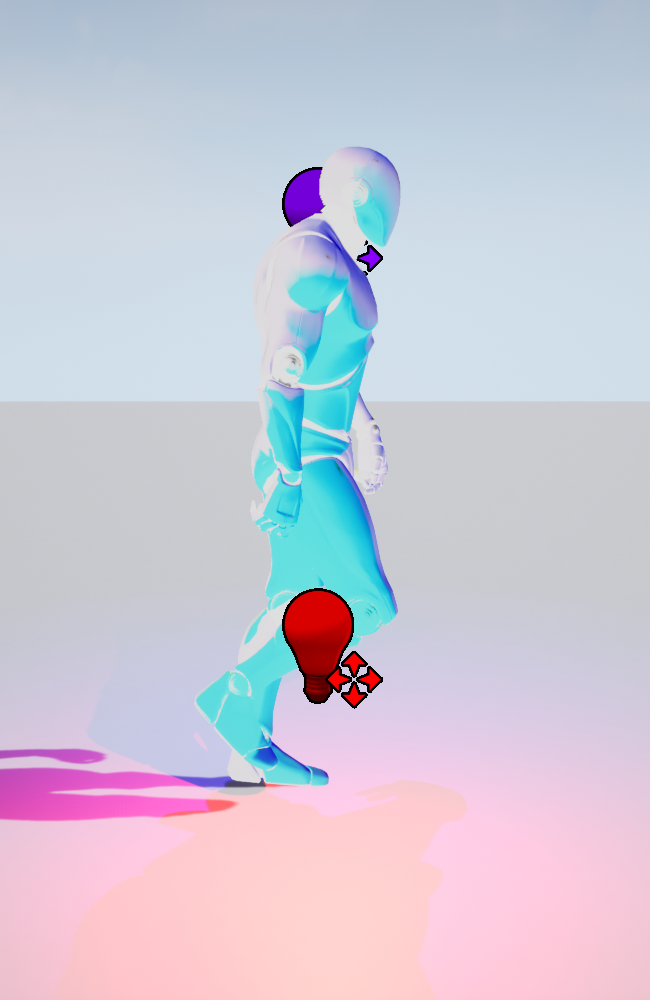
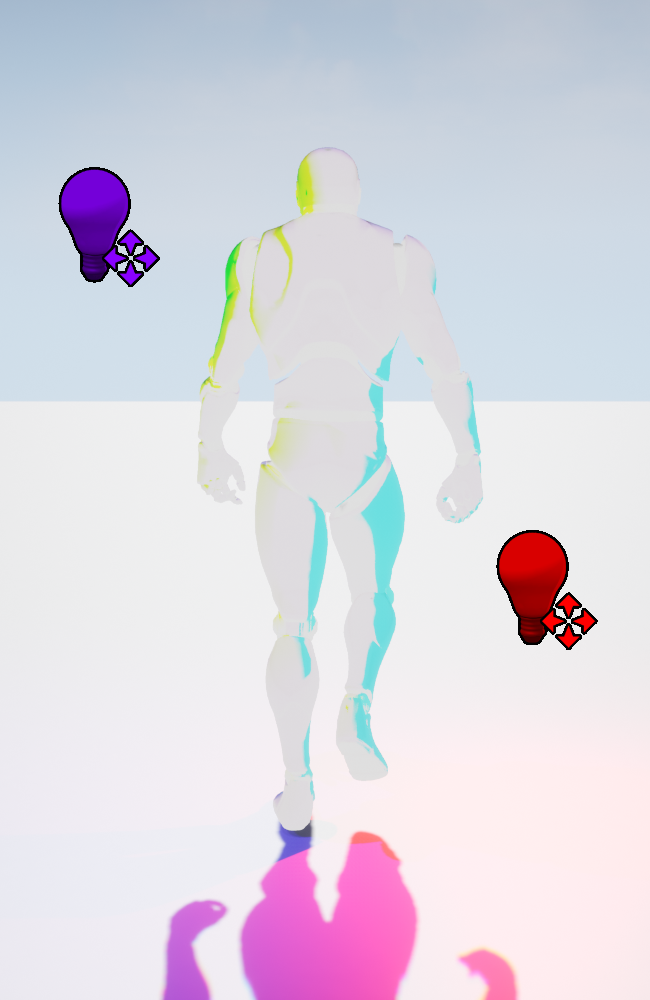
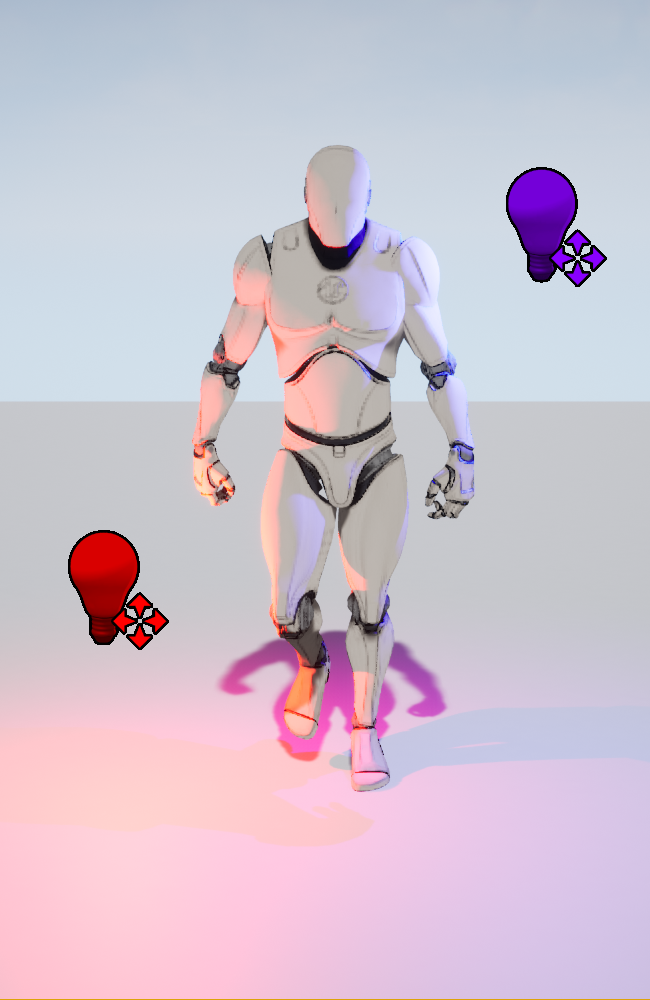
The images above very clearly show what will happen if we use PrLayer to display each Layer Type (2) in turn.
The next step is to change the way the layers are blended. Original Blend Code (5) looks like this:
Target += Layer * LayerModifier * Source;- Target – where we will accumulate the current layer, its value depends on the Target Index (1)
- if Target Index (1) is Color, then the Target will contain the value of the lighted part
- if Target Index (1) is Shadow, then the Target will contain the value of the shadow part
- if Target Index (1) is All, then the node will be executed 2 times. The first time Target will contain the value of the lighted part, the second time Target will contain the value of the shadow part.
- Layer – layer value, its content depends on Layer Type (2)
- LayerModifier – layer modification factor. Most layers in UE4 are Diffuse Color dependent, like Skyligth, Directional Light. For these layers the LayerModifier will be equal to the Diffuse Color value, in other cases it will be equals 1
- Source (7) – input parameter, if not specified then equals 1
- Param0..3 (3, 8) – additional input parameters, hidden by default
Rim Light
Below is an example of how to make a Rim Light based on a Skylight layer:
As you can see in the image we use two PrLayer nodes with a Skylight layer, but in one we change the Source (7) value.
Thus, one PrLayer node draws a Rim Light with colors as on a Skylight, the second one still draws a regular Skylight.
As a result, we have Rim Light dependent on the environment color. You can also do this with Reflection or Directional Light, for example, depending on the setting of your game.
Flat Color
Flat Color – type of shading that is as close as possible to Base Color. To implement this shading, use a node with a Layer Type (2) equal to Diffuse.

We use two PrLayer nodes with a Diffuse layer, one Diffuse on the lighted side and one on the shadow side. But since we want to tint the shadow side with a color, we connect to Source (7) a color other than white.
Notice half of the layers like Reflection, Specular, Skylight, etc are absent (we only use
the layers that we need). This is an important feature of the plugin as materials will only carry the performance burden of what layers you assign to them. For instance, if you don’t need reflections on a material then simply don’t use that layer in the PrLayer node, and there won’t be any performance hit related to reflections on our material. You only pay in performance for what you use!
Important! You pay only for what you use!
Blend Code: Custom
Up to this point, we have only talked about working with nodes without changing the code in the Blend Code (5).
The next step is to change the Blend Colde (5)
Bright Reflection

For this task, you need to modify the Blend Code (5) of the node with the Layer Type (2) equal to Reflection. Here is the code I used for such a shader:
Target += pow(Layer * LayerModifier, Param0) * Source;Note that the Param0 (3, 8) parameter has been added to pass additional values to the code.
Important! For complex materials, you need a little knowledge of HLSL.
Negative
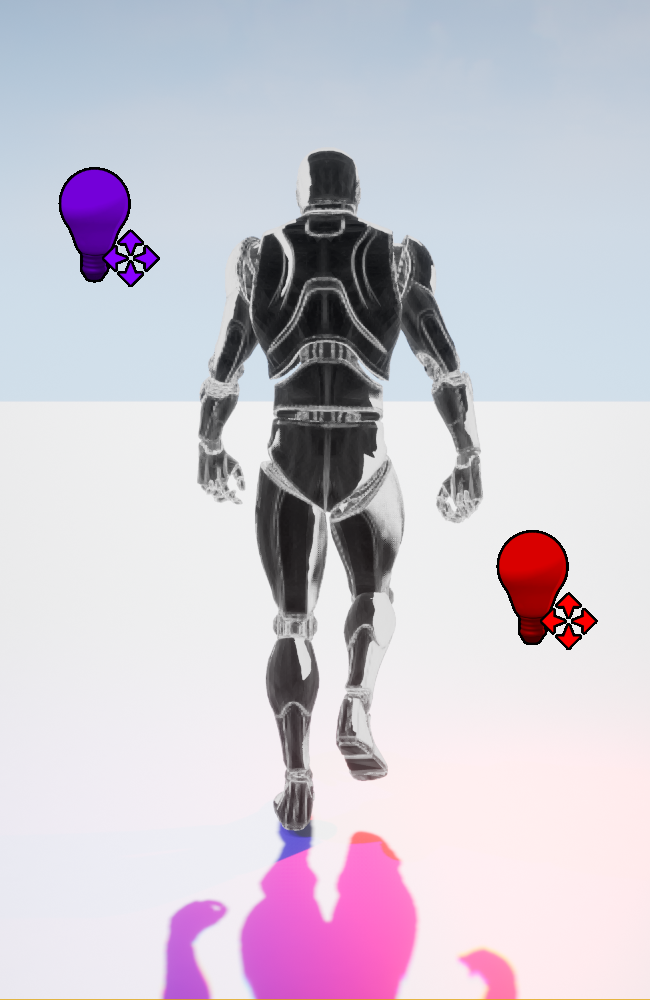
In my practice, I often face the need to post-process the entire image or part of it. This most often leads to performance problems. Attention, with a plugin, this can be done in the material itself!

For this task, I used a node with Layer Type (2) equal to Diffuse. Here’s the code I used to do this post-processing:
Target = 1.0 - saturate(Target);In this case, we are not adding anything to the Target, but completely modifying it!
Note that the node is located at the end. This is very important, since by this time the Target variable contains all the required colors.
Important! The sequence of execution of nodes corresponds to their queue in the blueprint.
Modify Code
The next step is to change the Modify Code (6). By default, this mode is only available for two layers: Shadow and Self Shadow. But if you activate Layer Modifier (4), then the node will switch to the modification mode of any selected layer.
The point of the modification is that we can change the value of the layer without applying it to the scene. And some layers can be changed only in this way, for example Shadow and Self Shadow.
Original Modify Code (6) looks like this:
Target = Layer * Source;- Target – value of the layer, we can use it or override it.
- Layer – unmodified value of the layer. If you need to get the changed state of the layer use Target instead of Layer
- Source (7) – input parameter, if not specified then equal to 1
- Param0..3 (3,8) – additional input parameters, hidden by default
Stepped Shadows

For this task, I used a node with Layer Type (2) equal to Self Shadow, after which the node itself switched to layer modification mode. Here’s the code I used in Modify Code (6) for stepped shadows:
Target = ceil(Layer * Source) / Source;Instead of the ceil function, you can try using floor or round
Examples
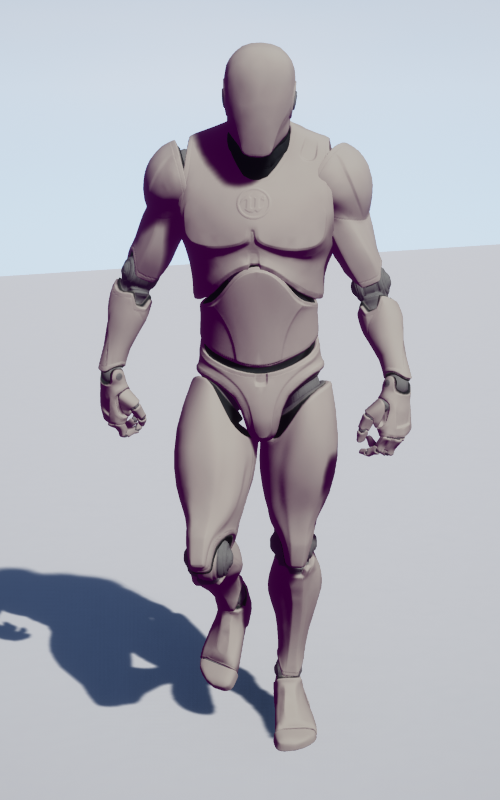
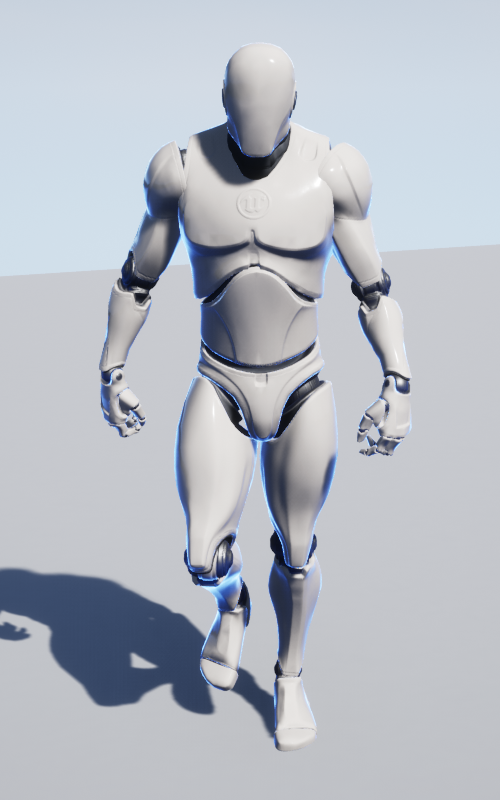
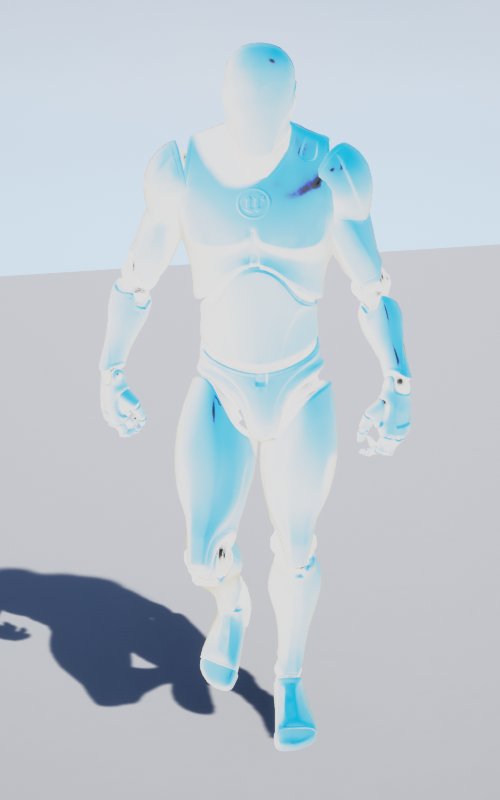
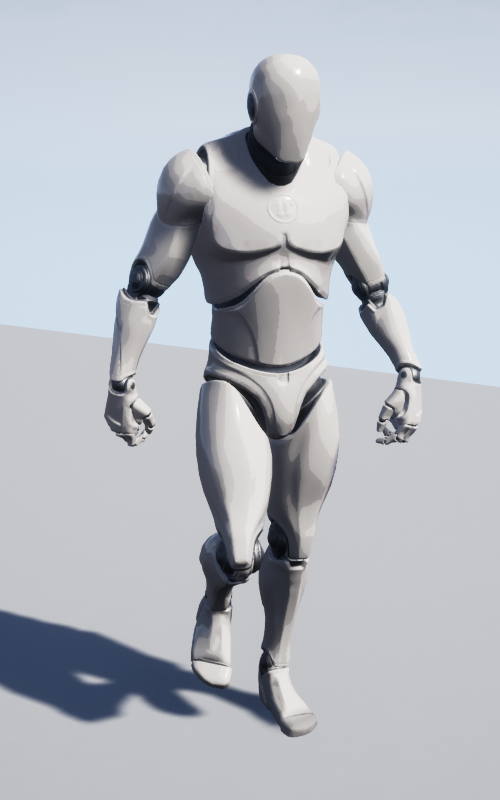
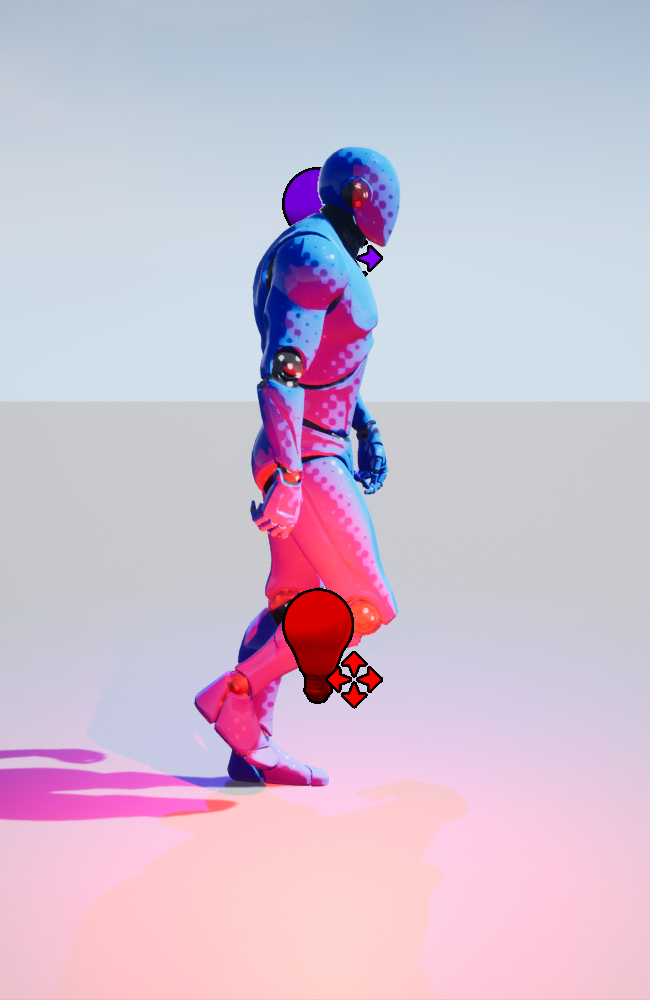
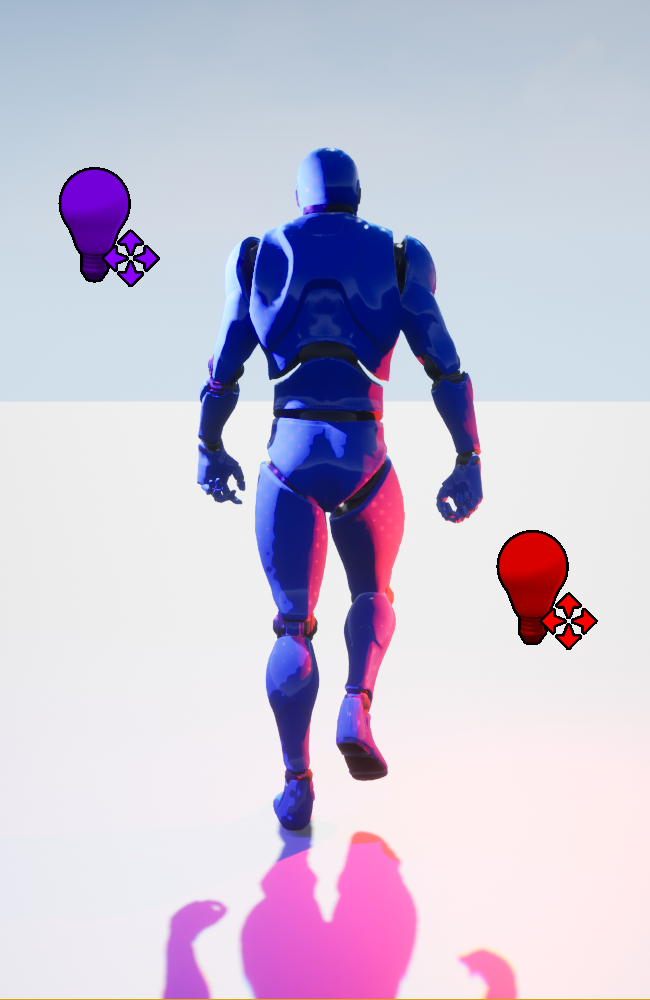
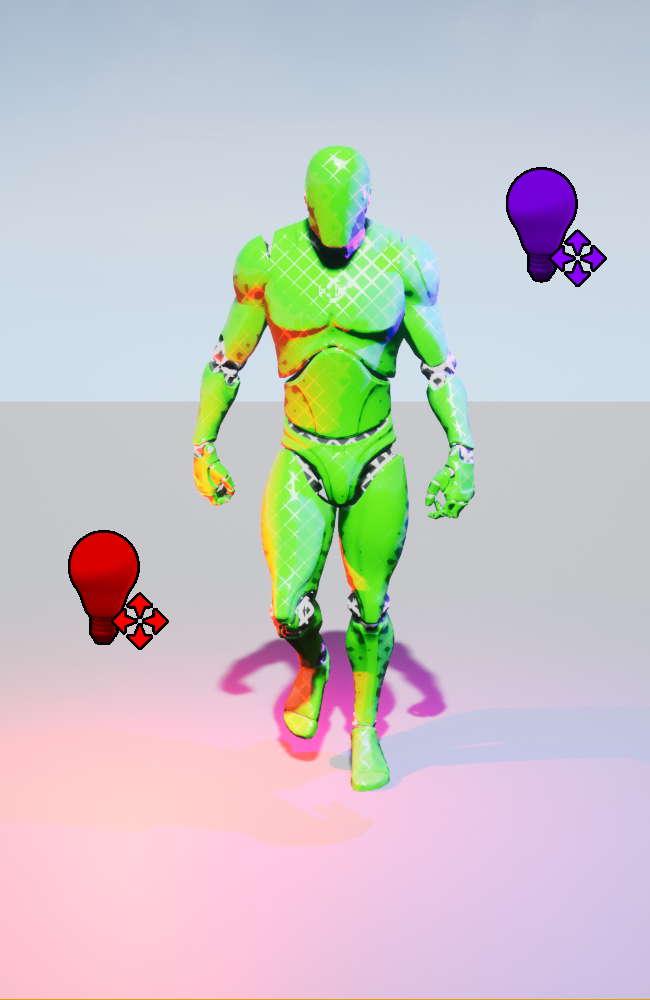
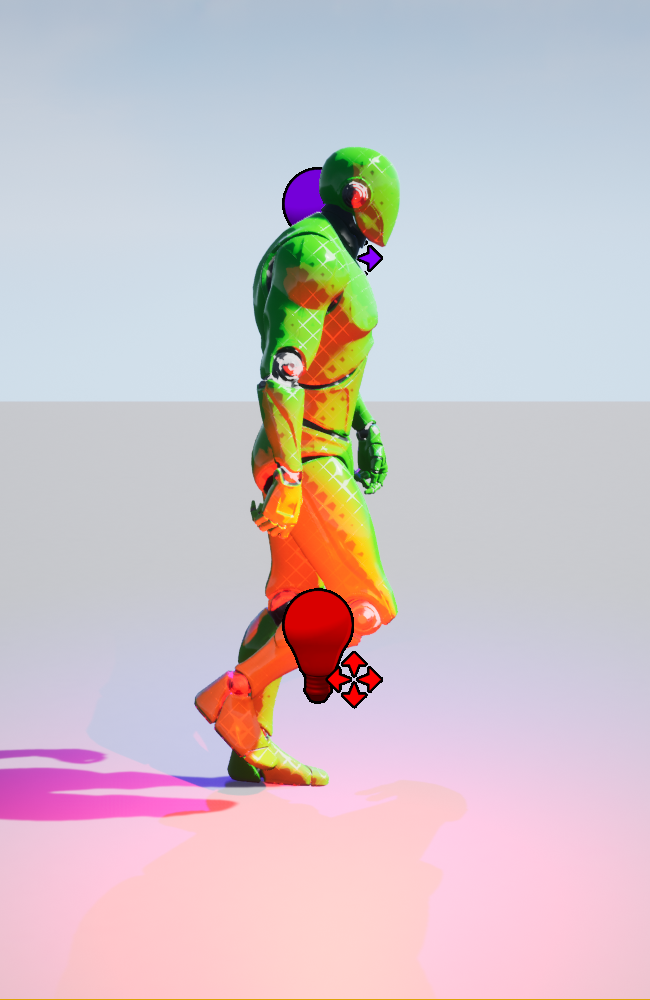
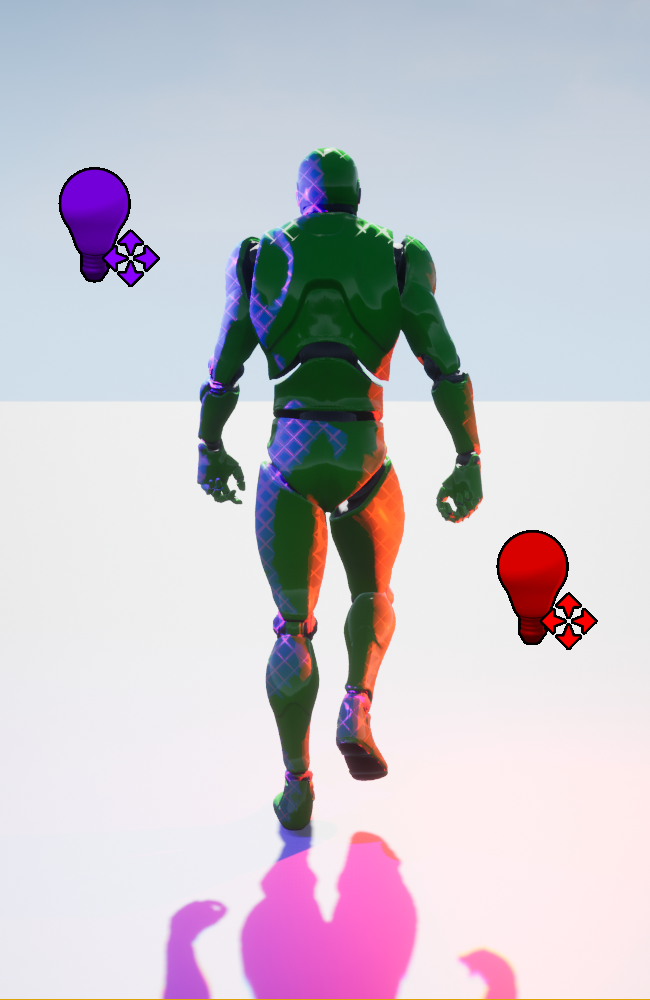
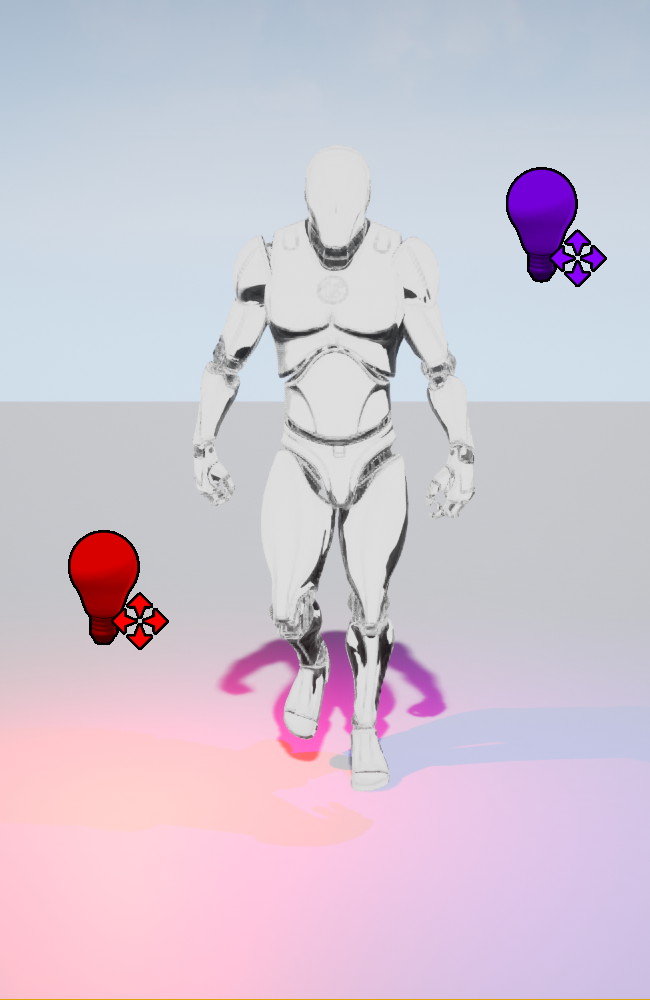
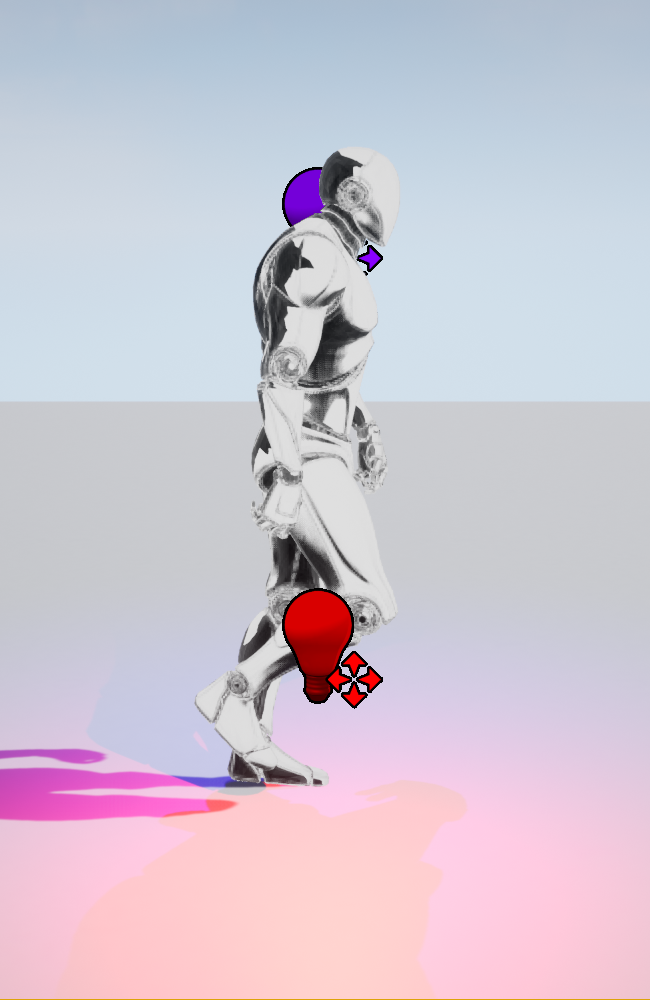
You can see examples of using the plugin in the engine. Open the demo level attached to the plugin.

Gallery
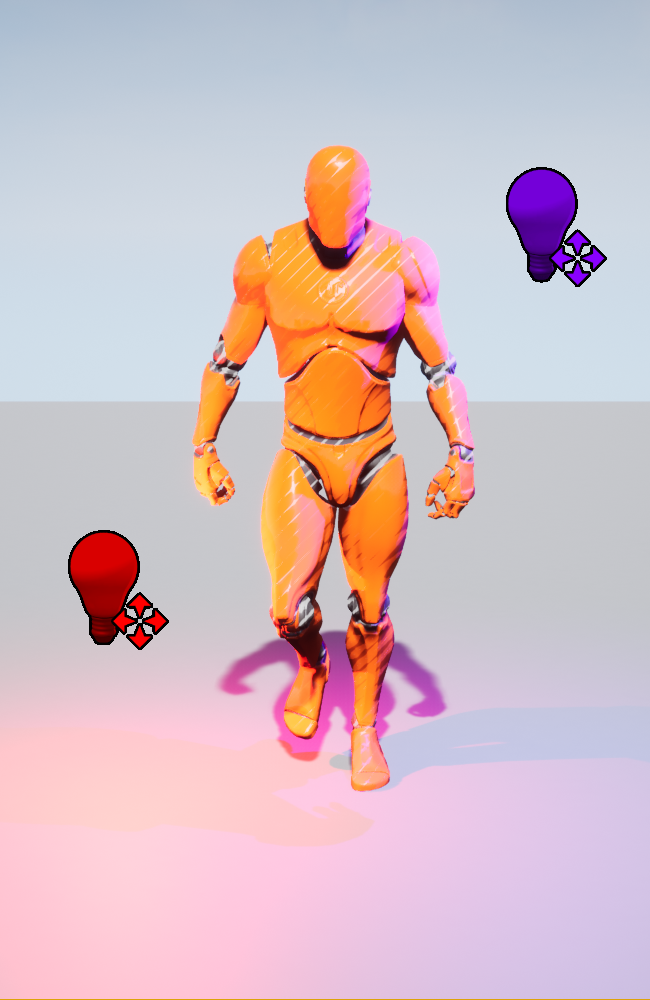
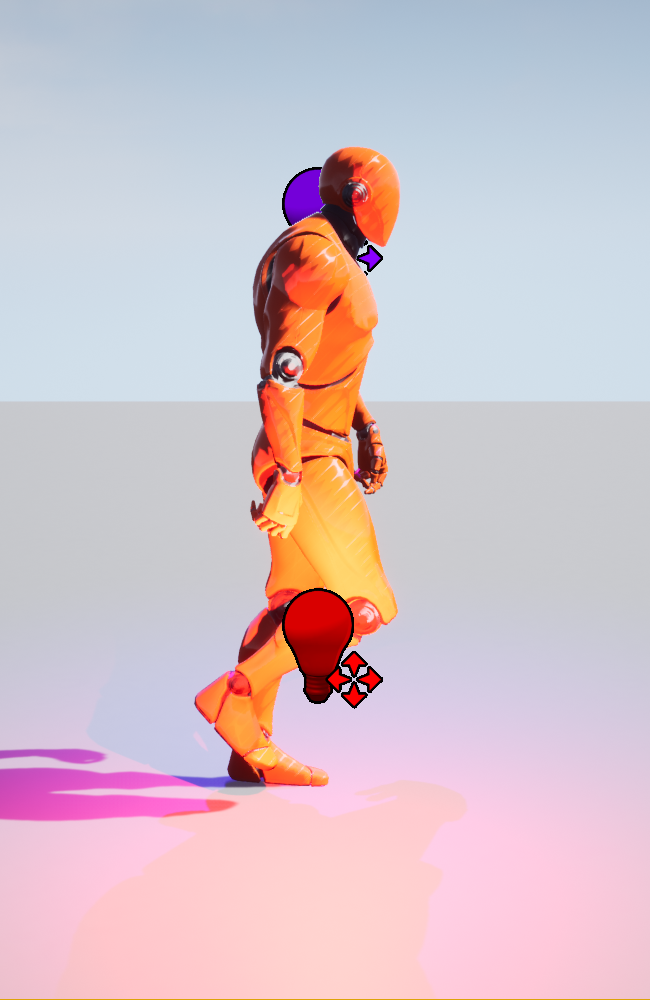
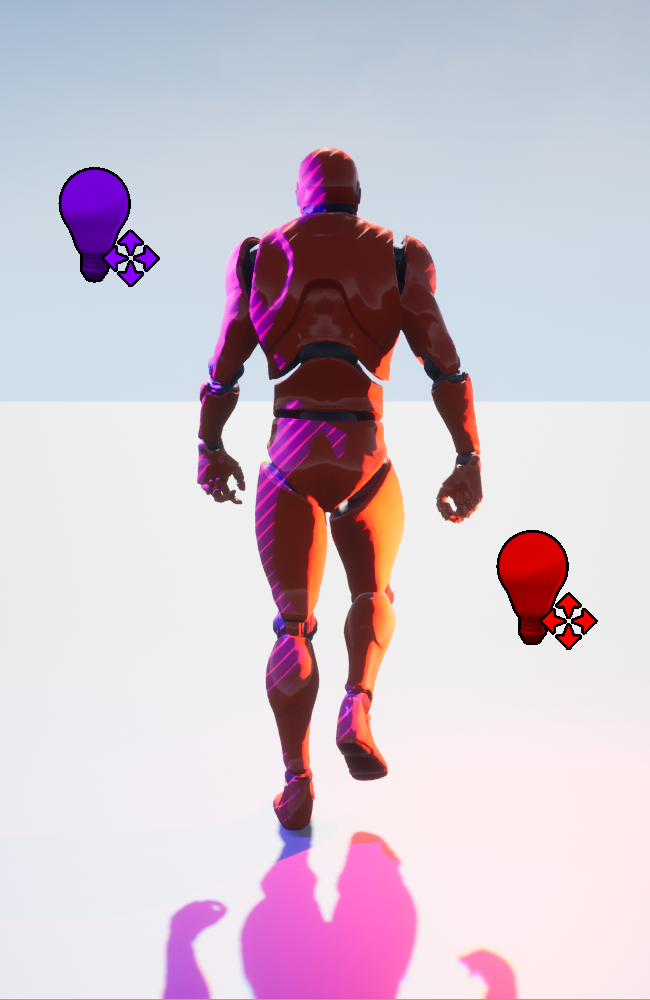
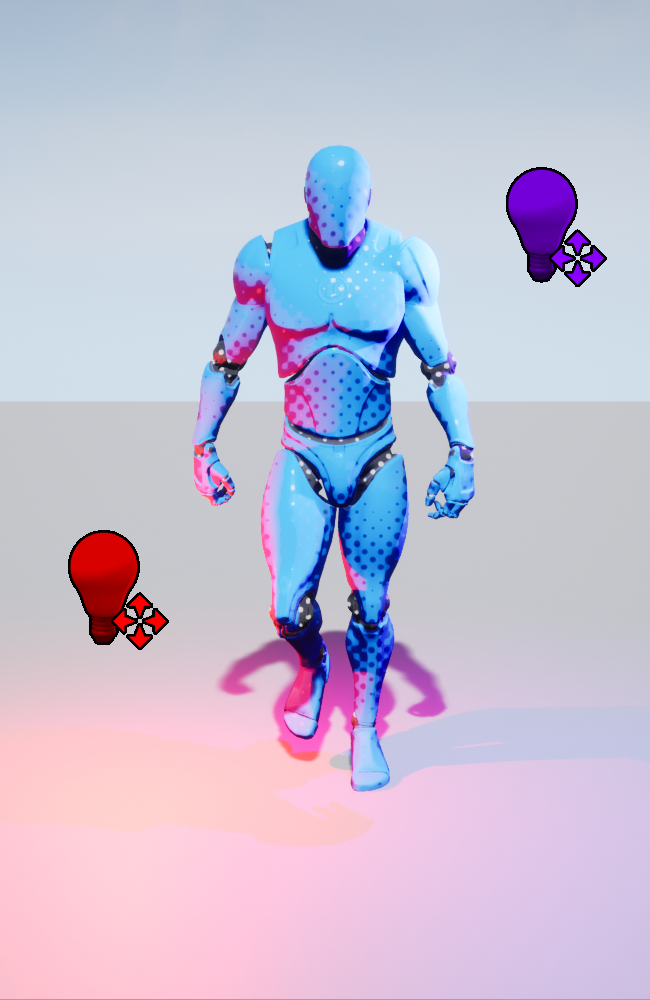
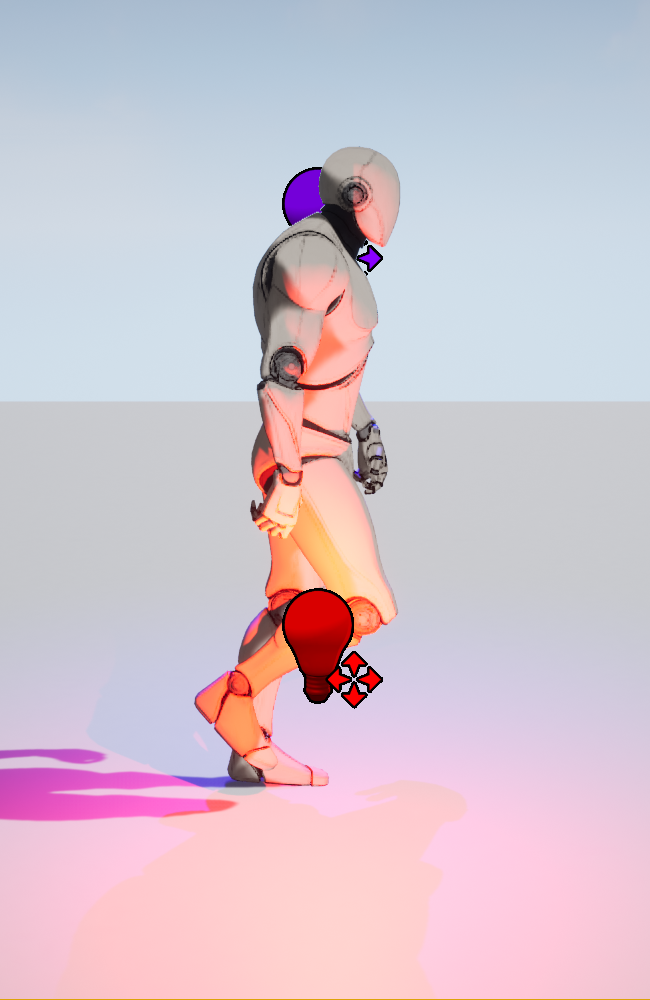
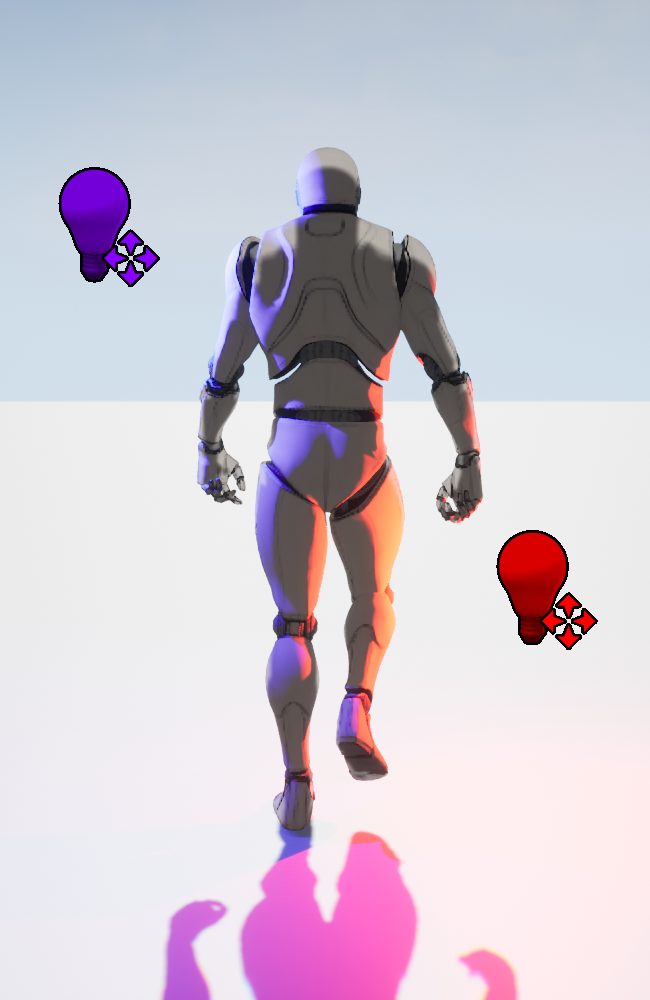
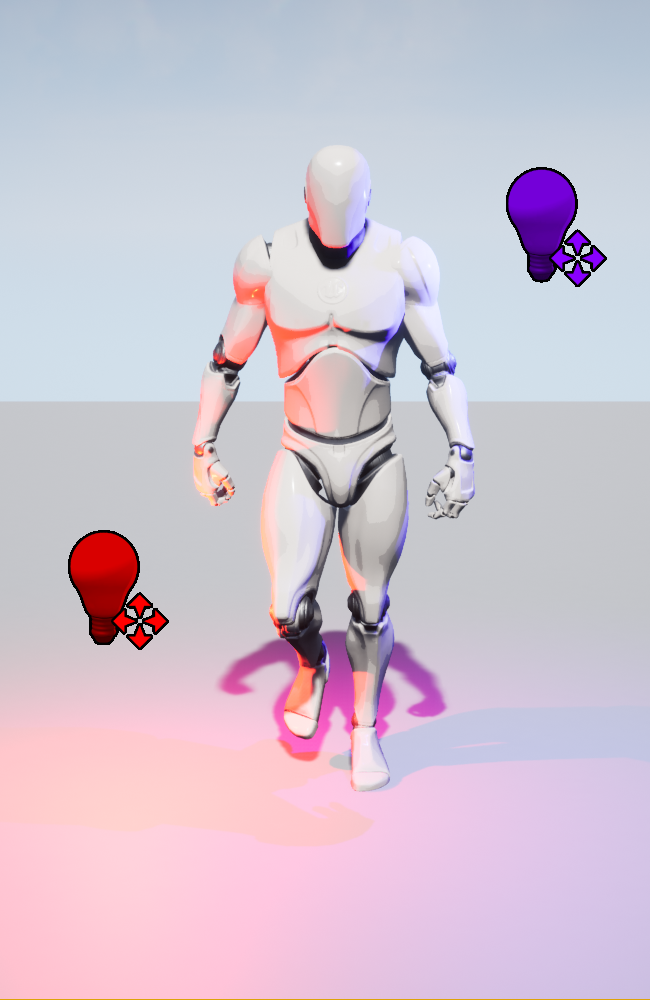
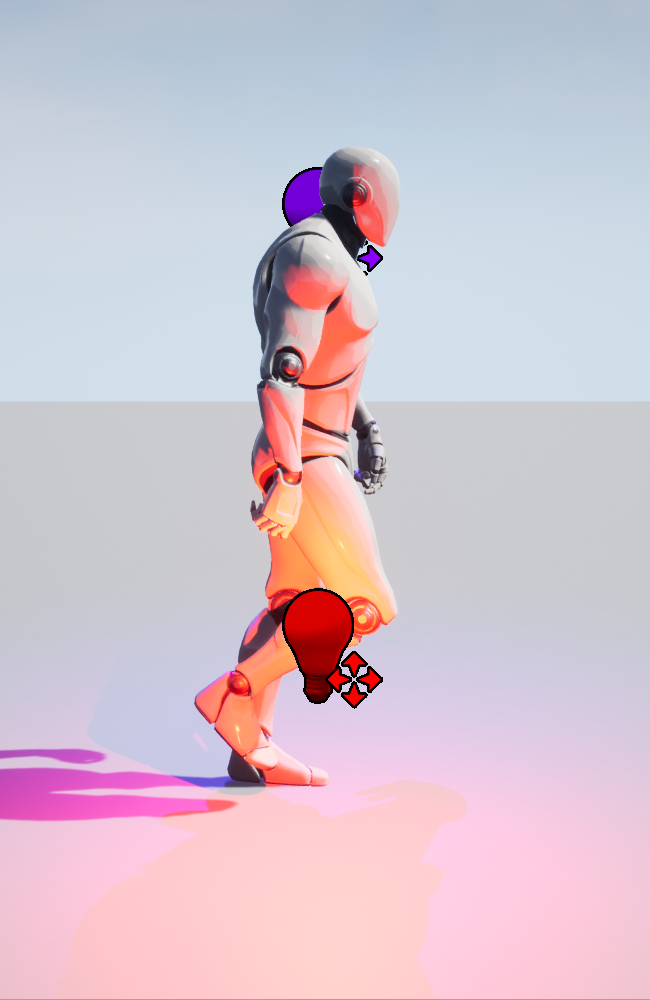
Important! The gallery contains images from the PRO version.
